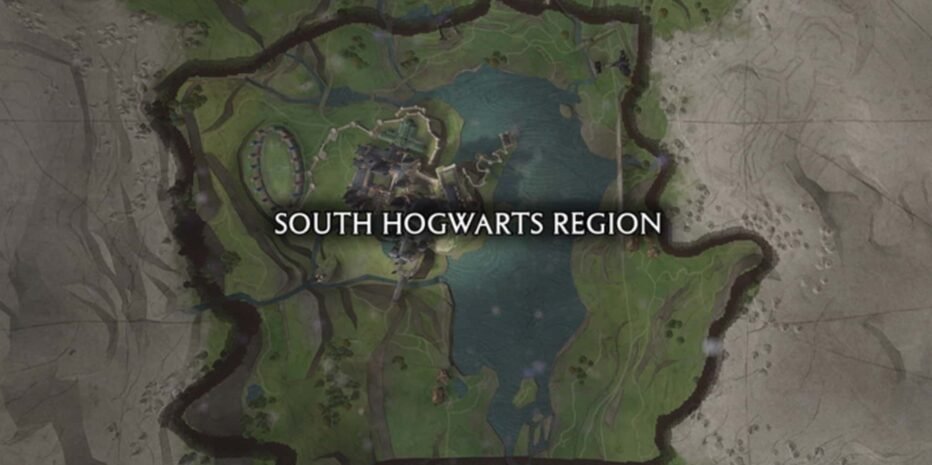
All 15 South Hogwarts Region Merlin Trials – Hogwarts Legacy
South Hogwarts Region Merlin Trials - Hogwarts Legacy

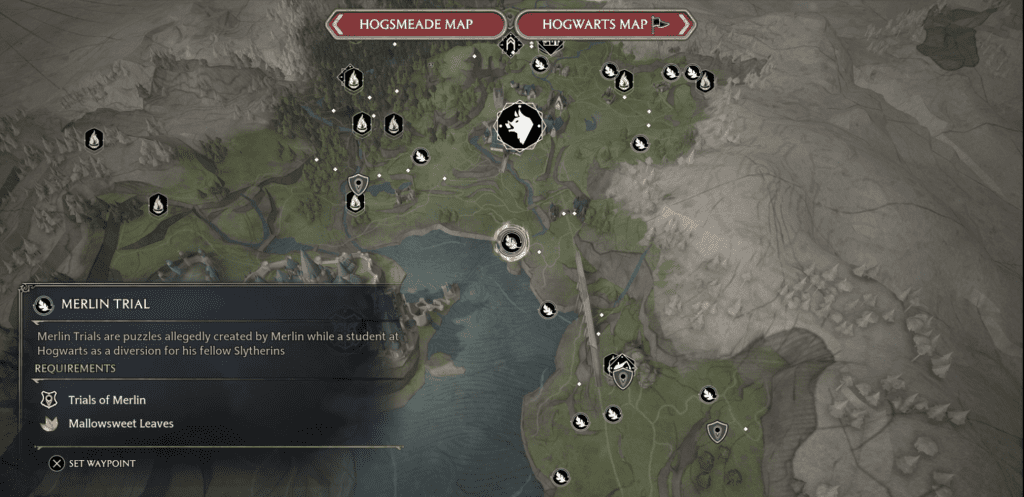
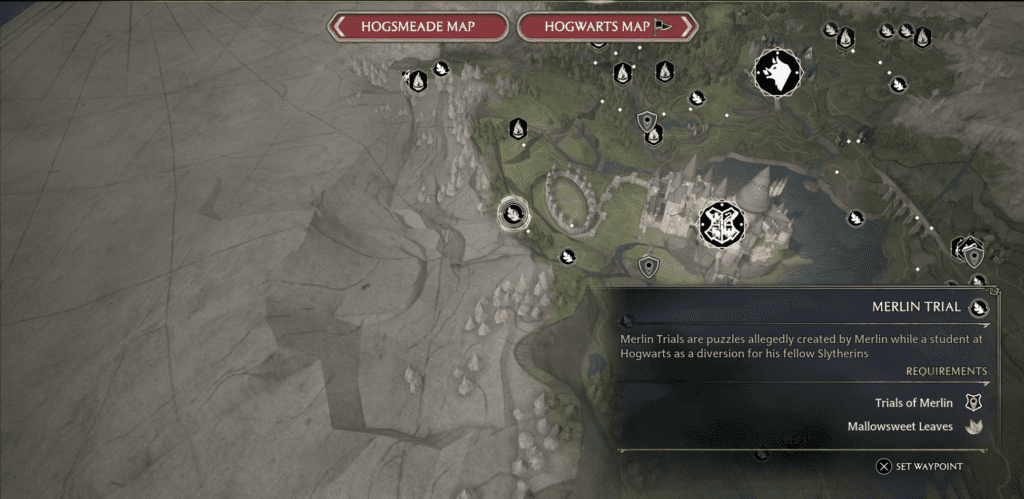
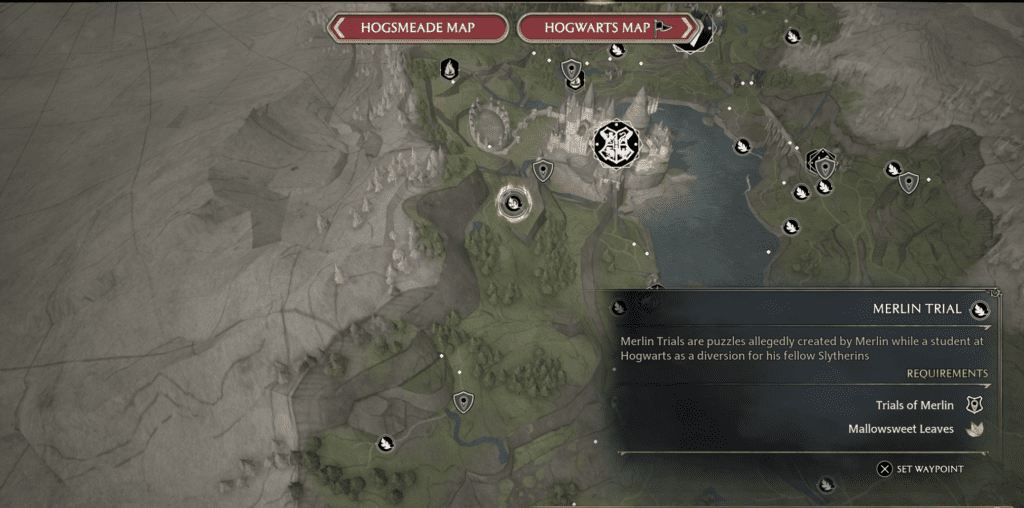
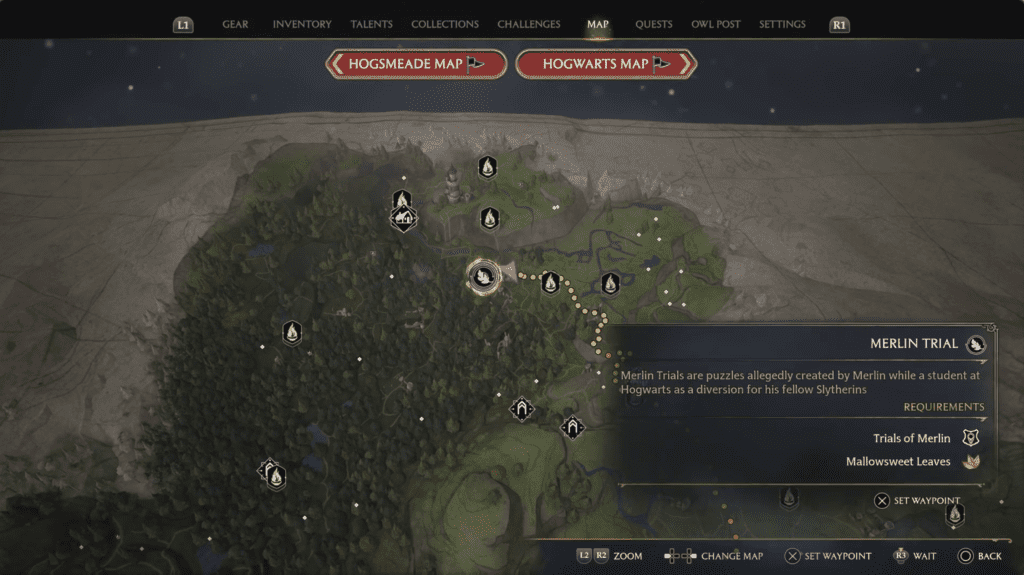
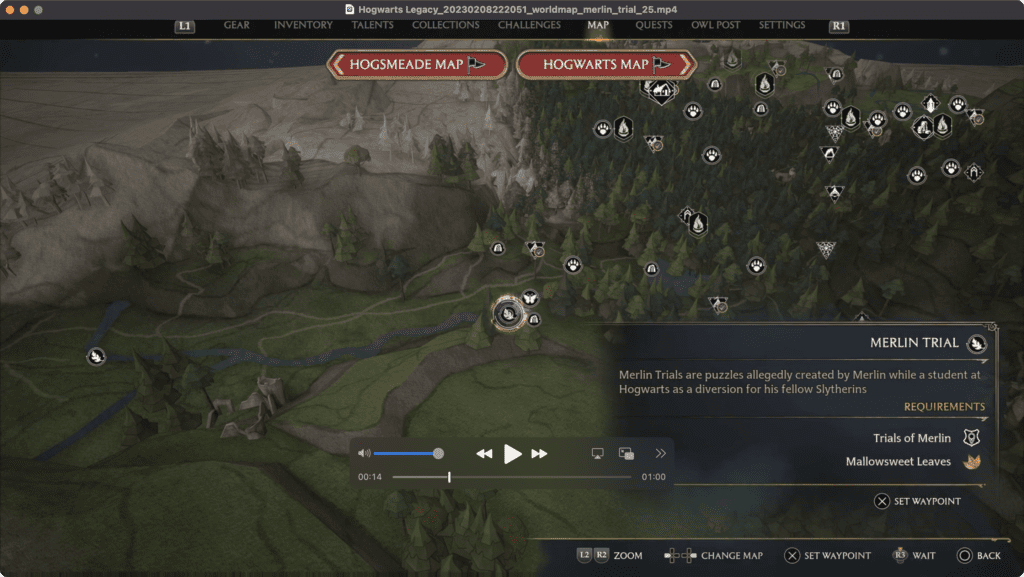
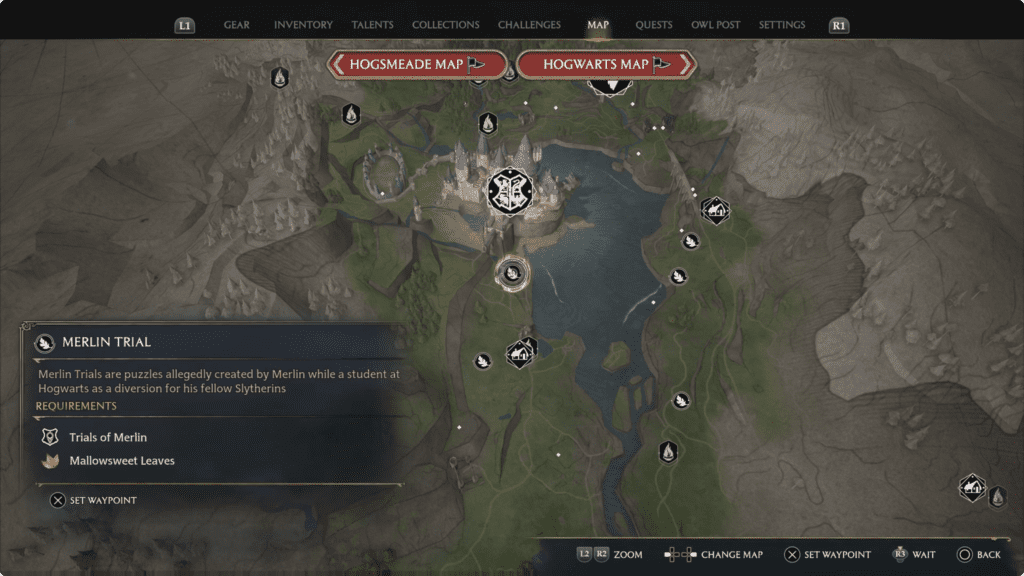
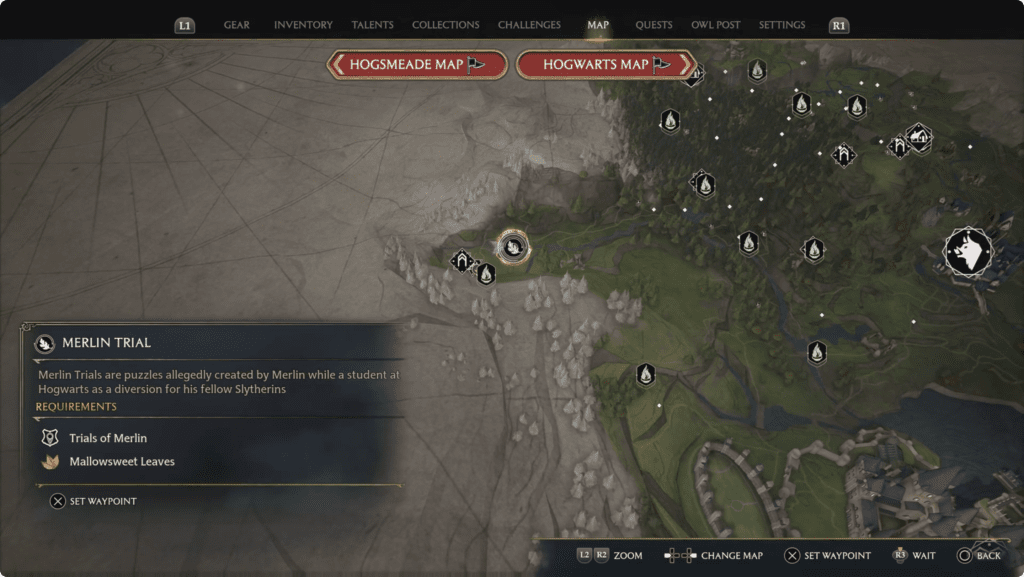
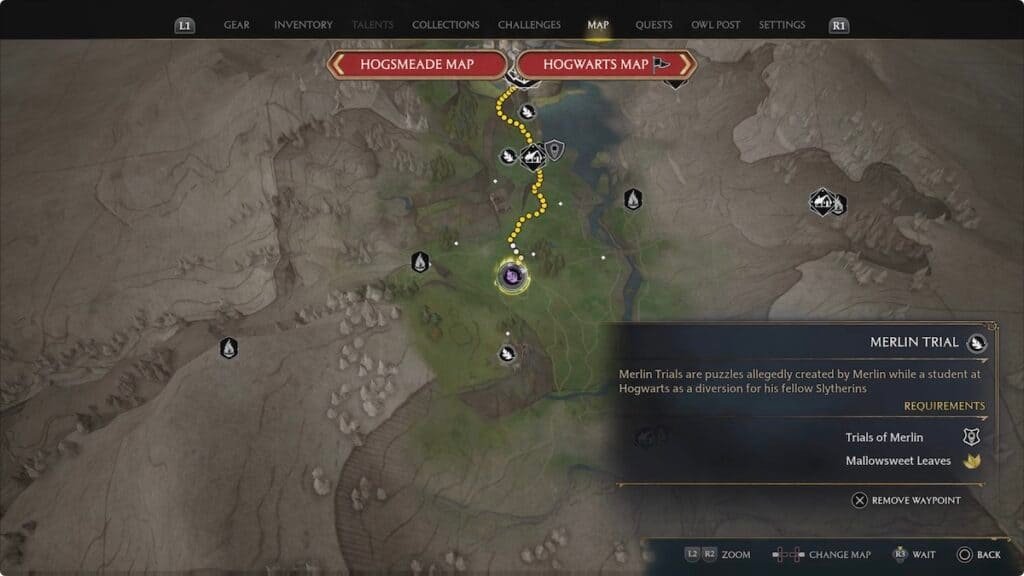
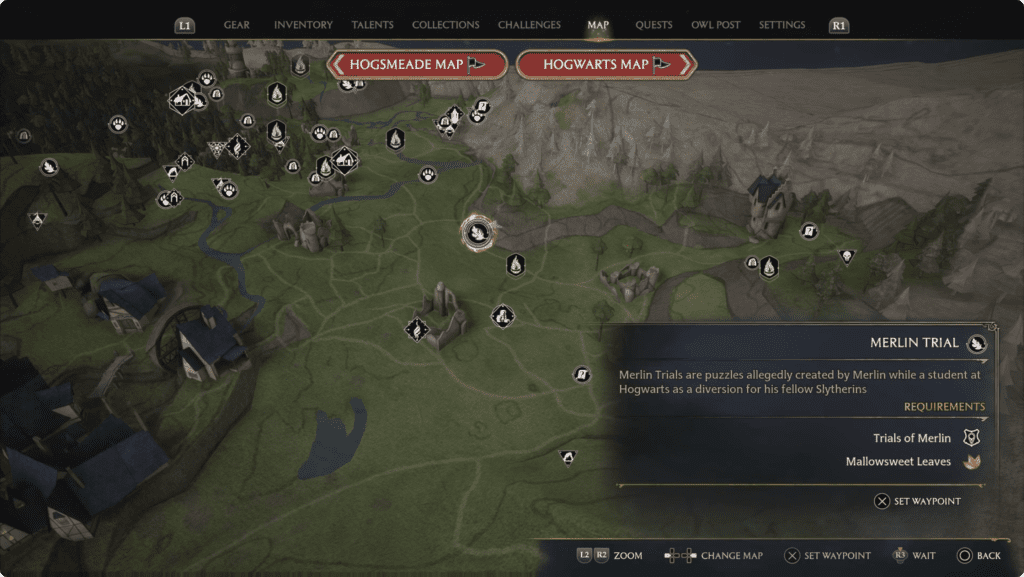
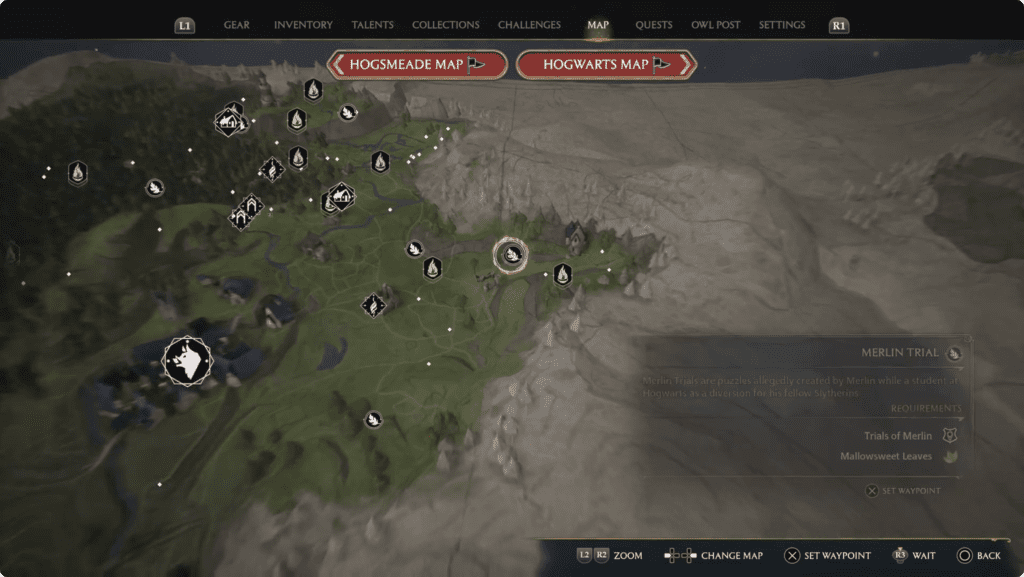
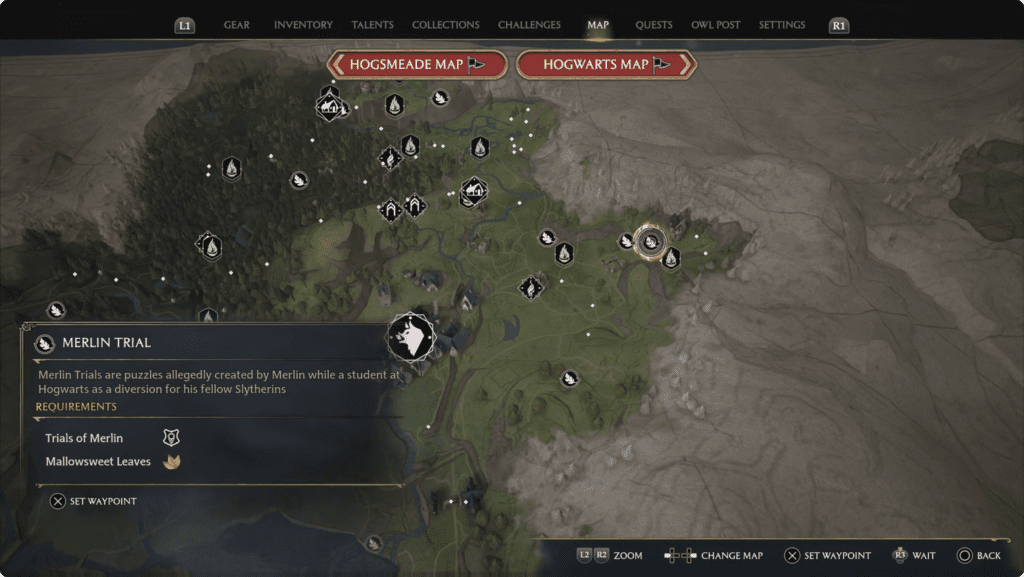
South Hogwarts Region Merlin Trial 1

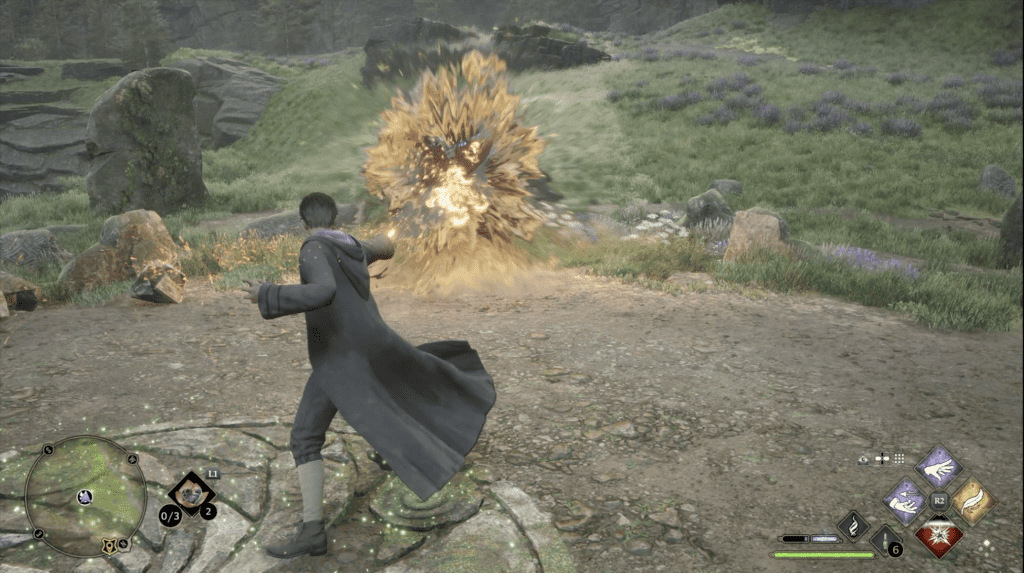
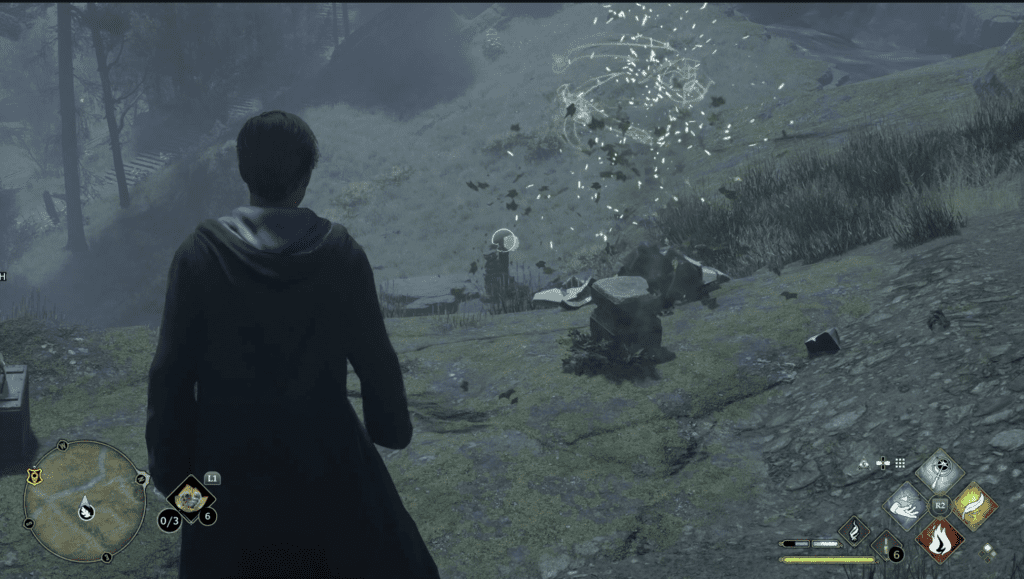
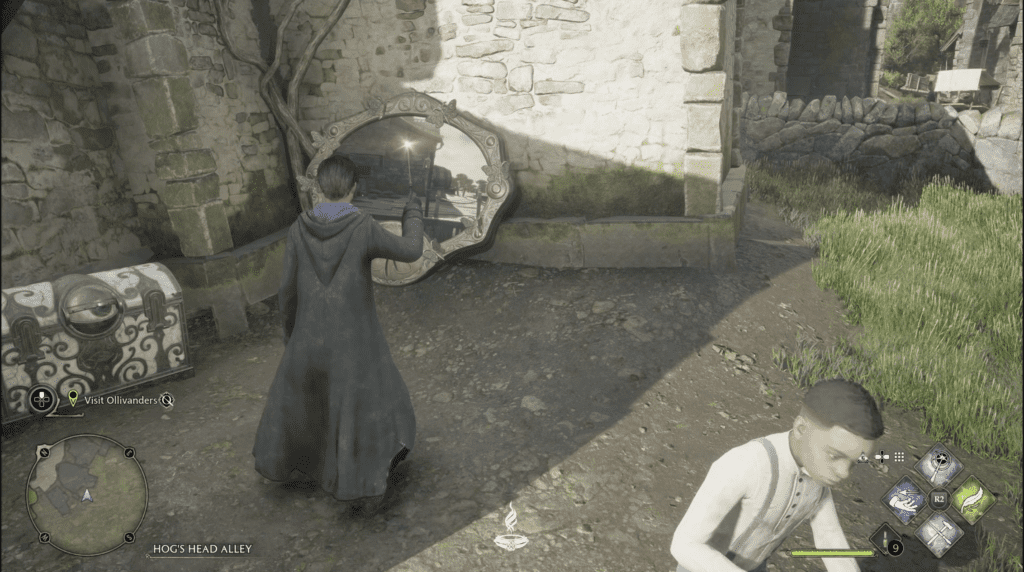
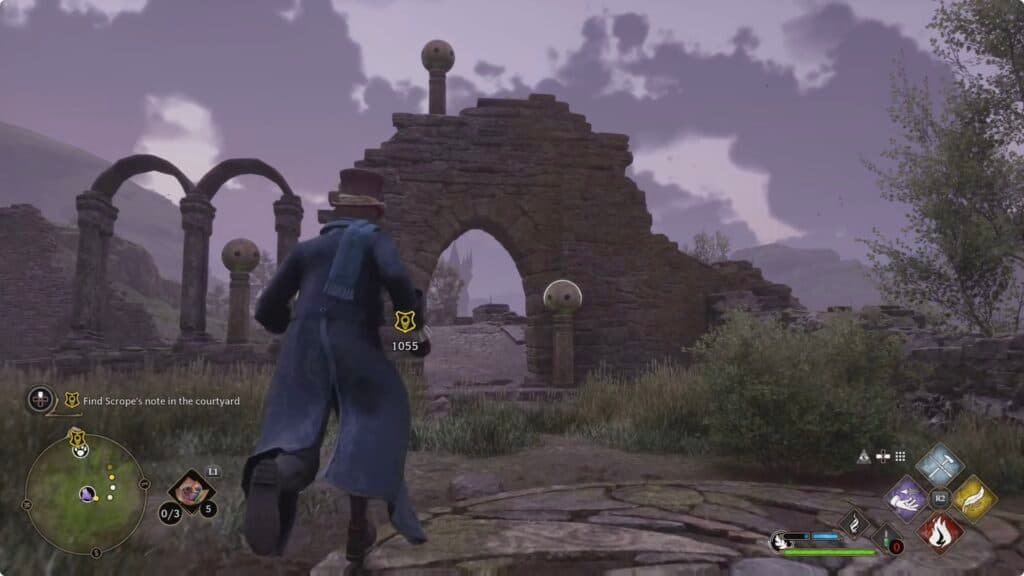
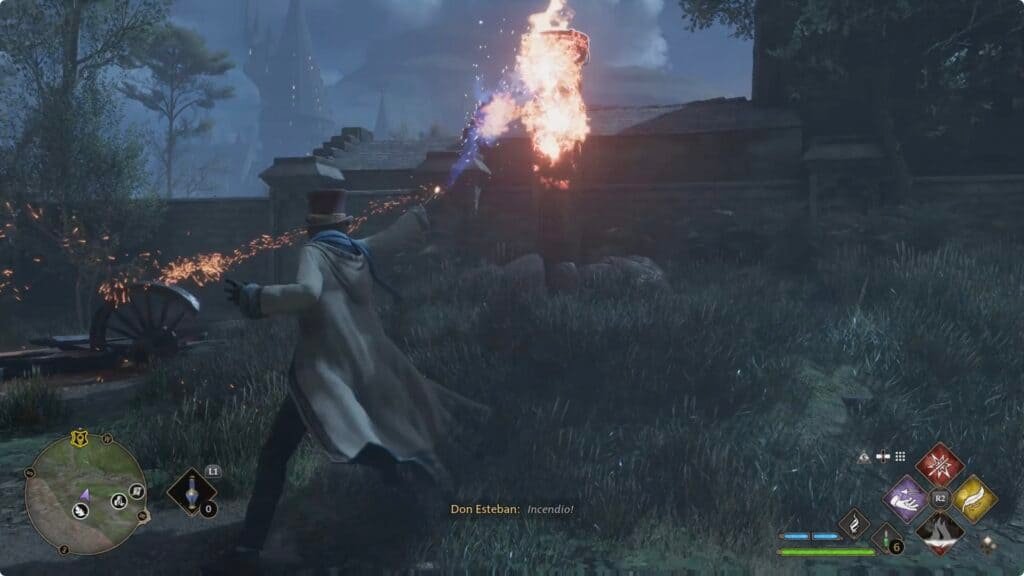
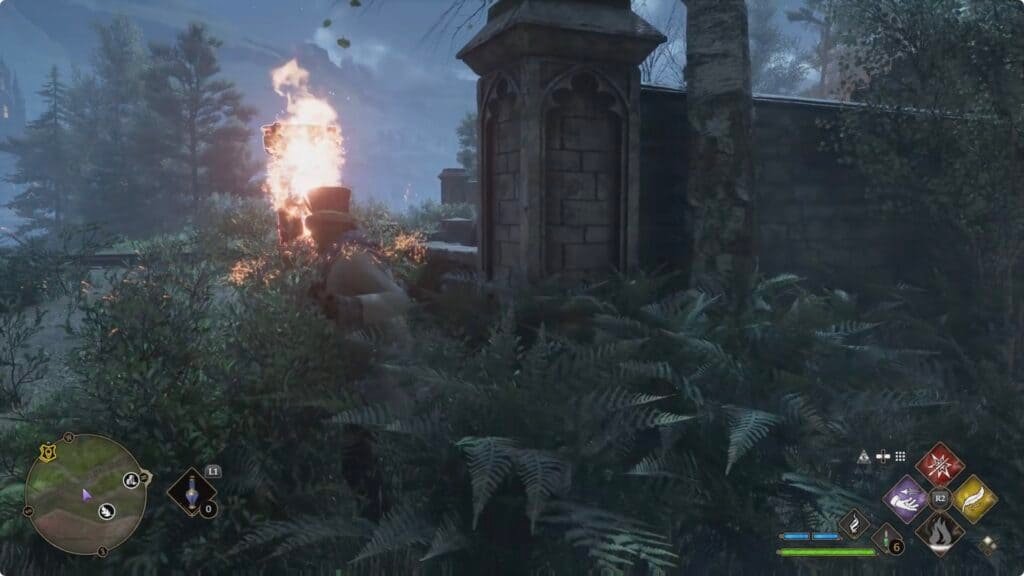
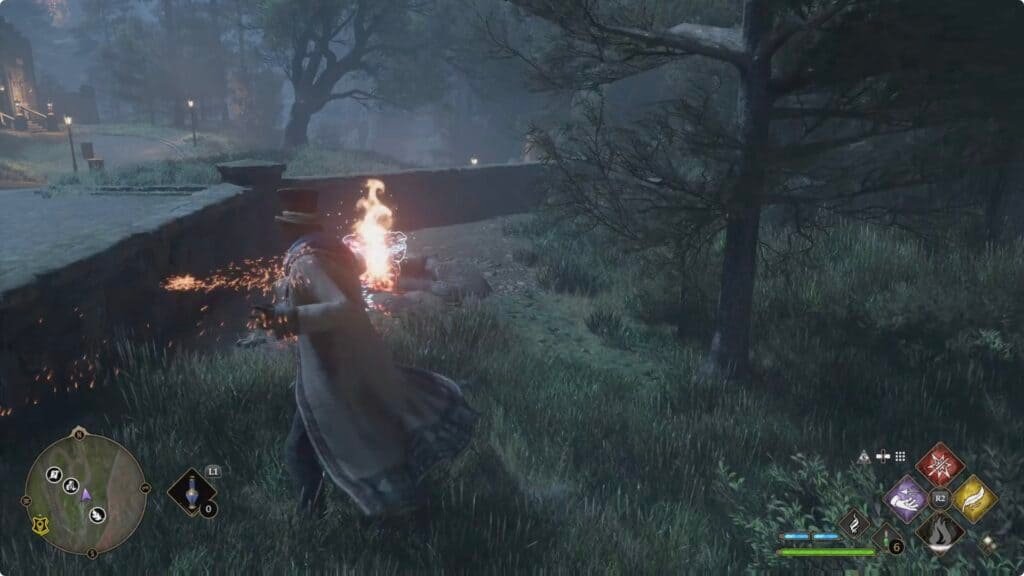
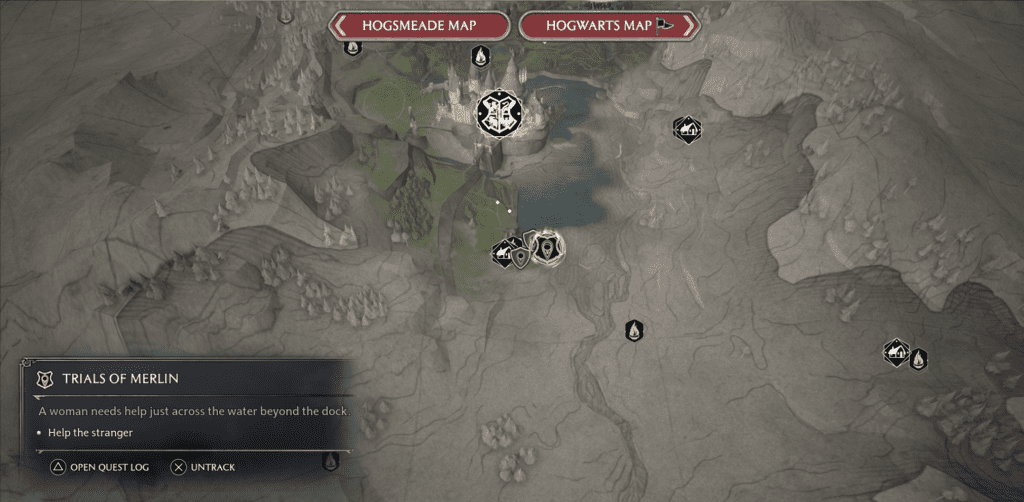
The first trial is during the quest Trials of Merlin which unlocks all other Merlin trials. Just follow the instructions and light 3 pyres with Incendio.


South Hogwarts Region Merlin Trial 2

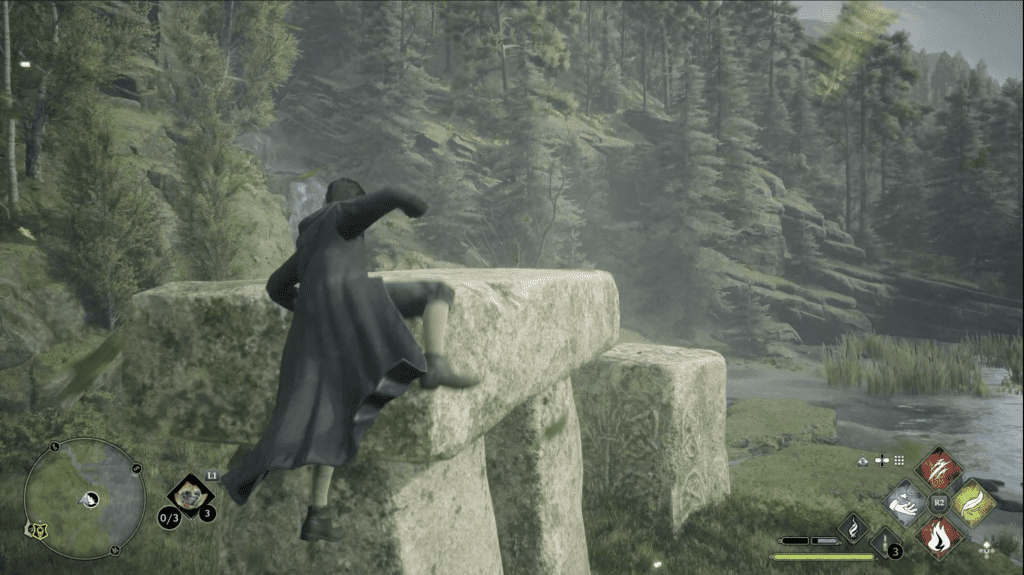
In this trial you have to clim on a stone and jump on every other stone without touching the ground.


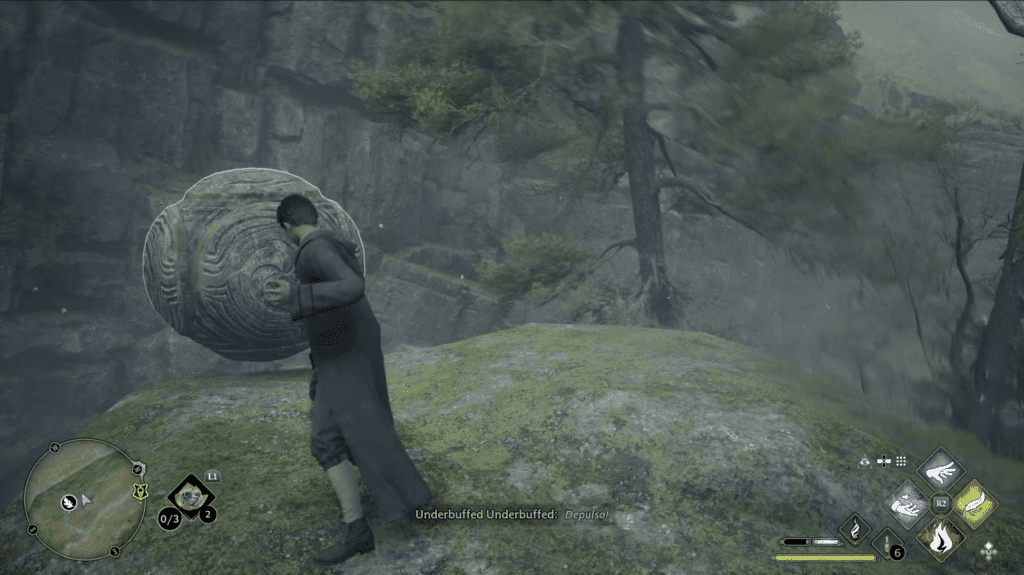
South Hogwarts Region Merlin Trial 3

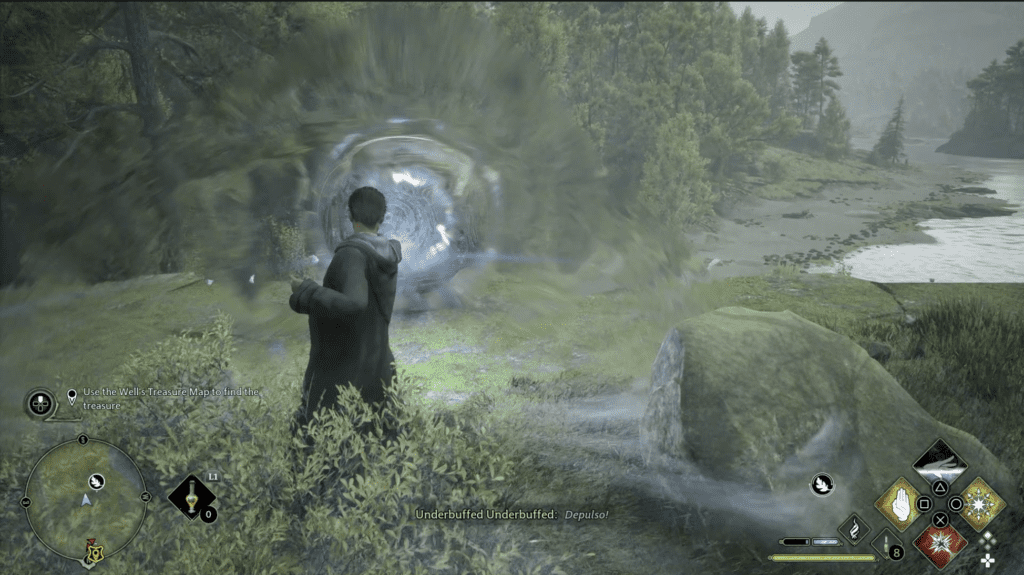
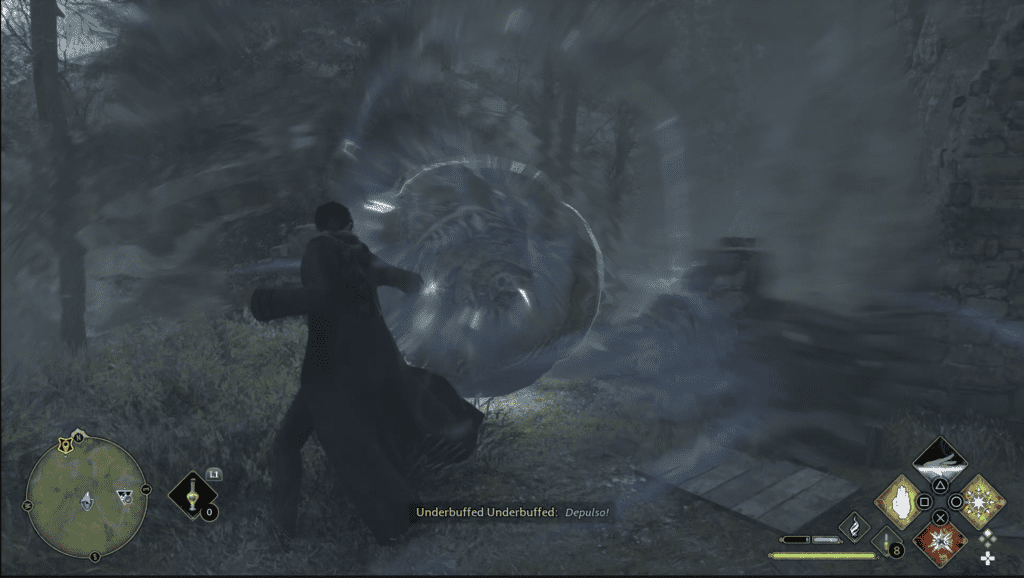
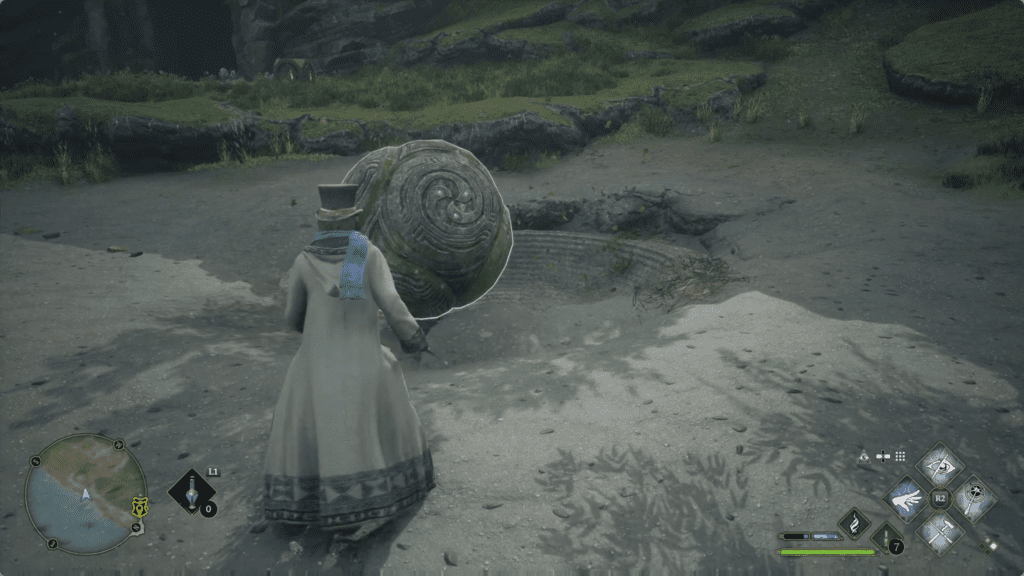
In this trial you need to push a boulder with Depulso to the finish.


South Hogwarts Region Merlin Trial 4

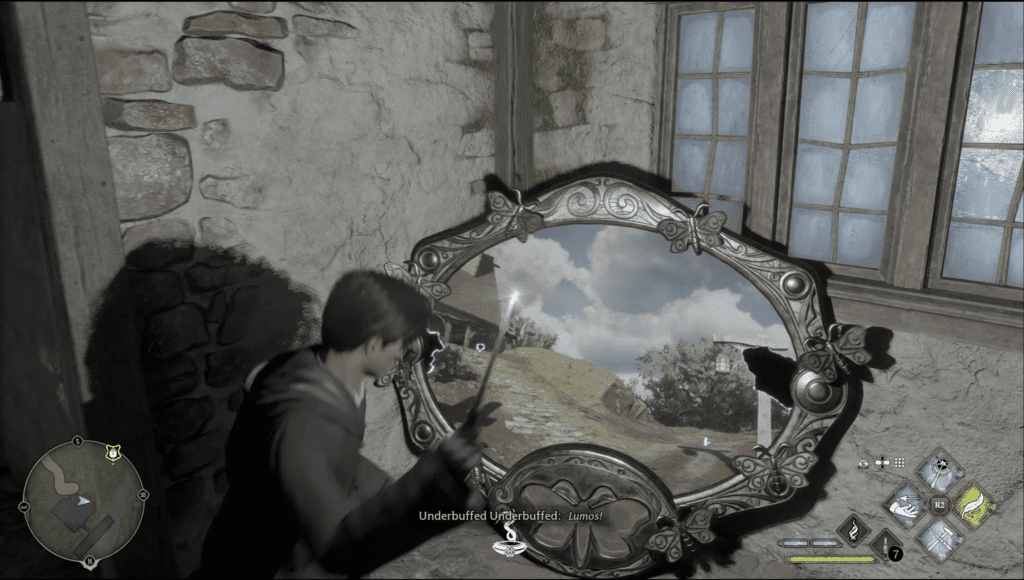
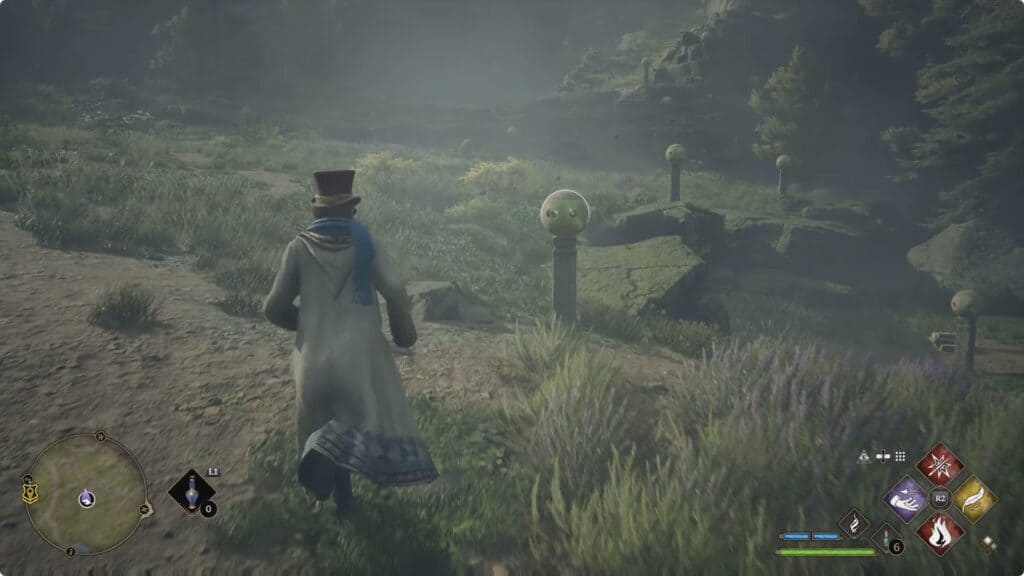
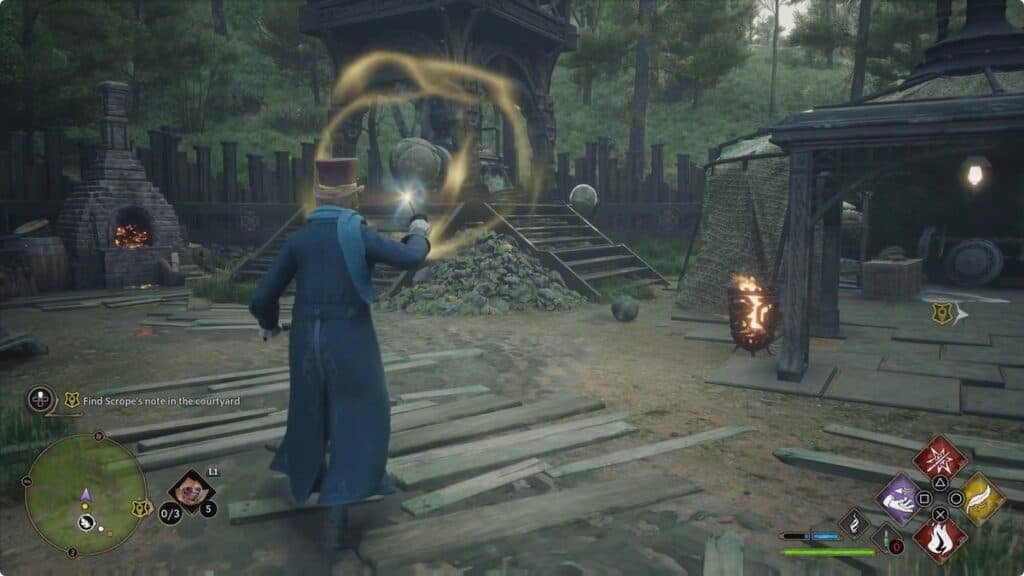
In this trial you have to guide flies with Lumos to blocks. Do this 3 times to complete this trial.


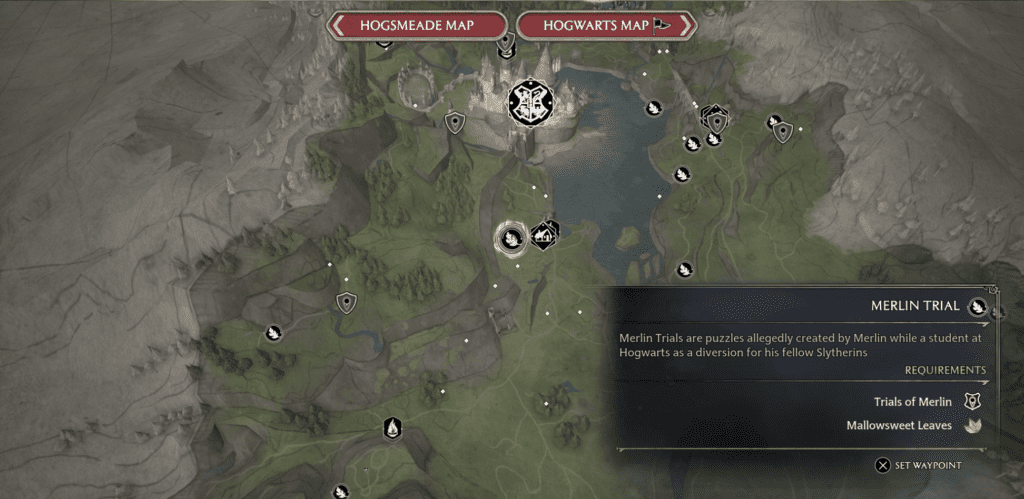
South Hogwarts Region Merlin Trial 5

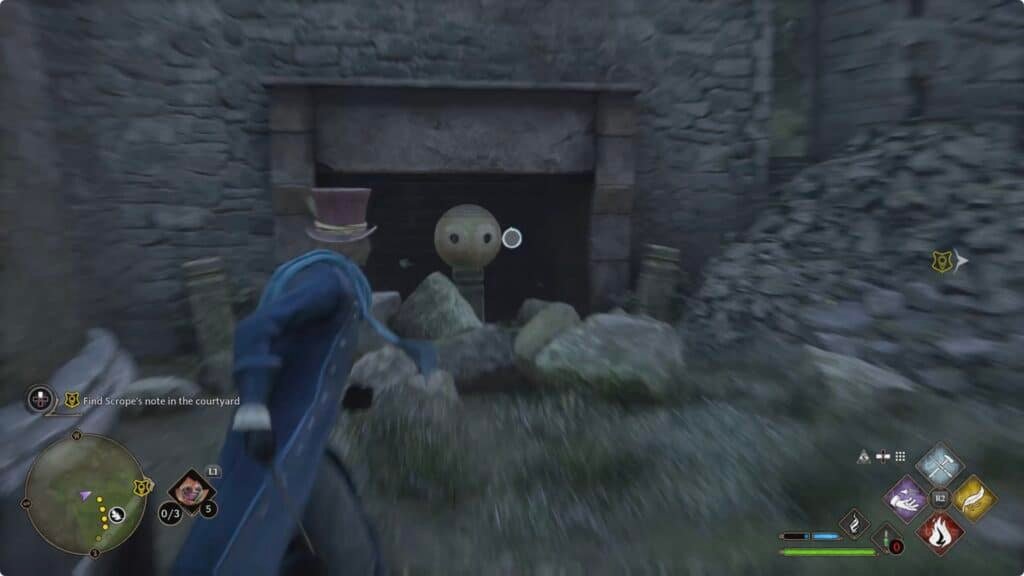
In this trial you have to find the boulder which is hidden behind a stone wall and push it with Depulso to the finish.


South Hogwarts Region Merlin Trial 6

In this trial you have to guide flies to blocks. This one is a bit trickier since the blocks and flies are spread on different heights.


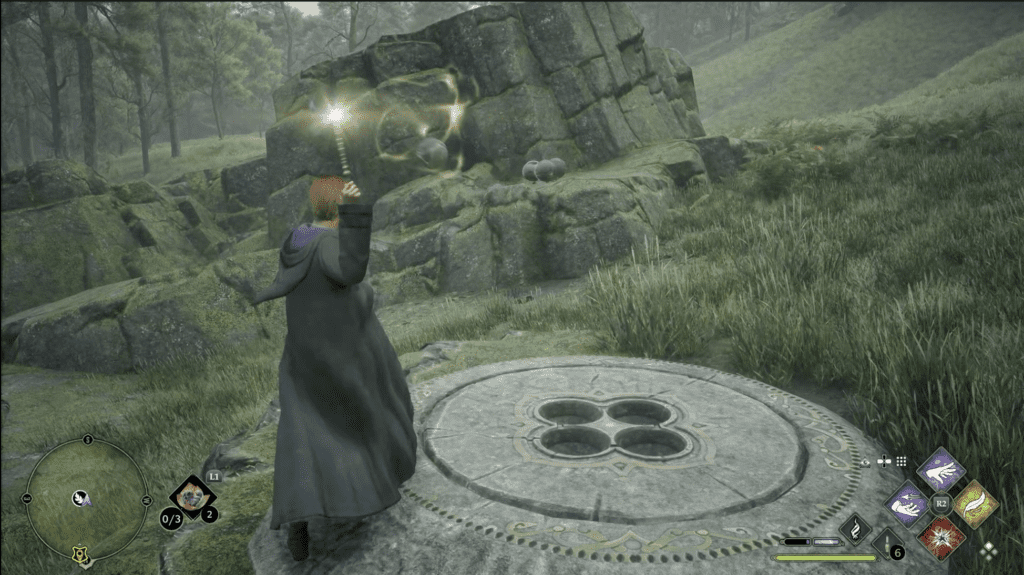
South Hogwarts Region Merlin Trial 7

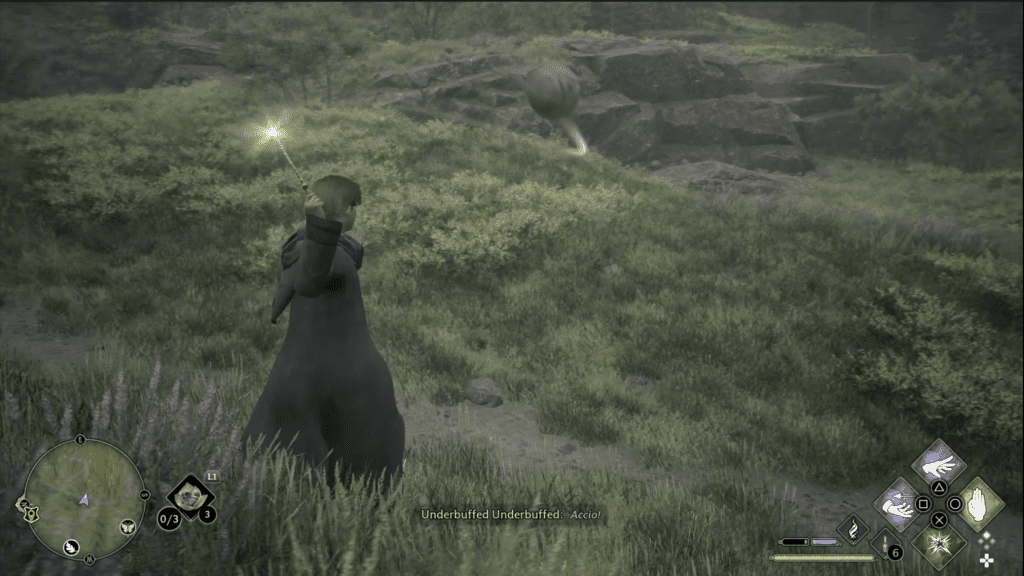
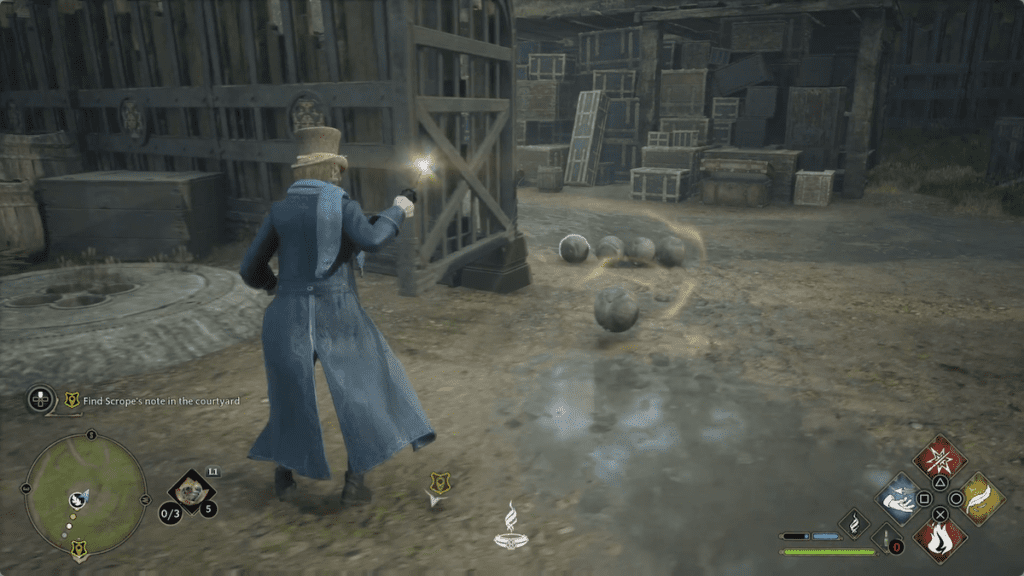
Pull balls with Accio to the platforms with holes 3 times to finish this trial.


South Hogwarts Region Merlin Trial 8

Shoot blocks with Confringo to finish this trial.


South Hogwarts Region Merlin Trial 9

Guide flies to blocks to finish this trial.


South Hogwarts Region Merlin Trial 10

Push the boulder to the target platform with Depulso.


South Hogwarts Region Merlin Trial 11

Pull the stones with Accio to the platforms 3 times to finish this trial.


South Hogwarts Region Merlin Trial 12

Shoot blocks with Confringo to finish this trial.


South Hogwarts Region Merlin Trial 13

Light the 3 pyres with Incendio or Confrigo before any of the pyres reaches the ground.


South Hogwarts Region Merlin Trial 14

Push the boulder to the platform to complete this trial.


South Hogwarts Region Merlin Trial 15

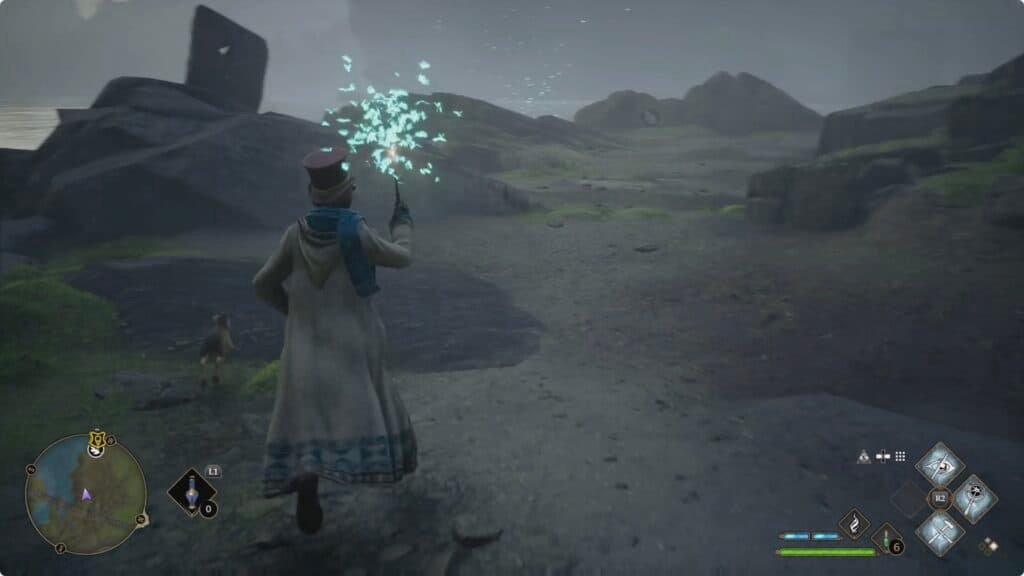
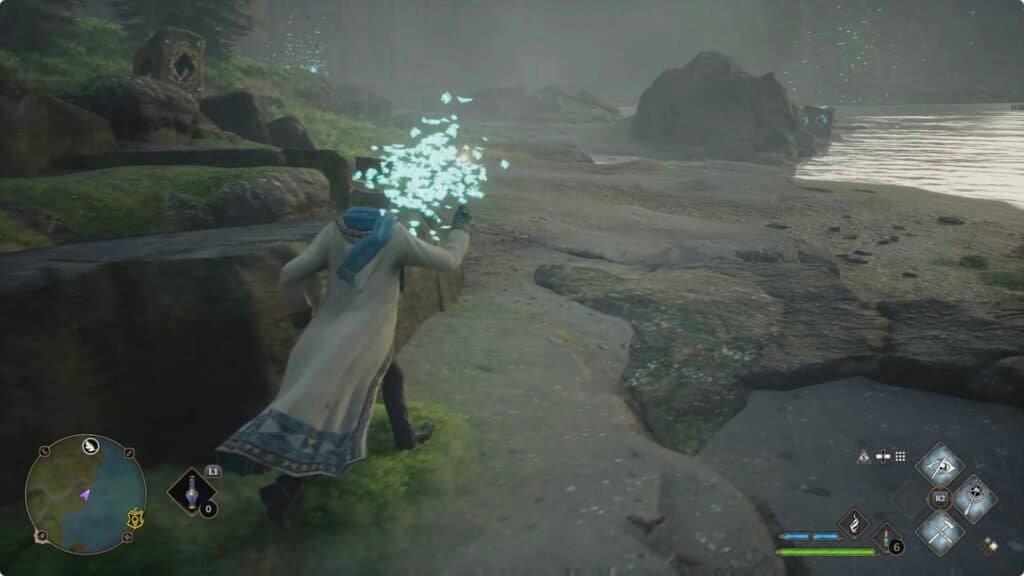
Shoot the stones with your wand to complete this trial. There is one stone which is a little bit hidden since it can’t be seen from the Merlin Trial platform.

Hogsmeade Revelio Pages

The Three Broomsticks

Ceridwen’s Precarious Cauldrons

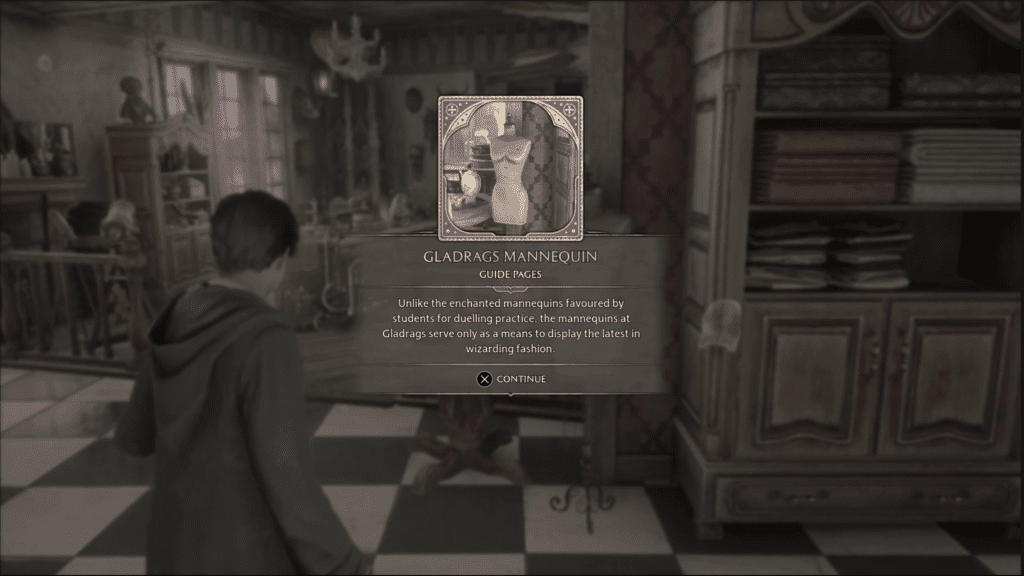
Gladrags Mannequin

Gladrags Wizardwear

Honeydukes

J. Pippin’s Potions

Hengist of Woodcroft

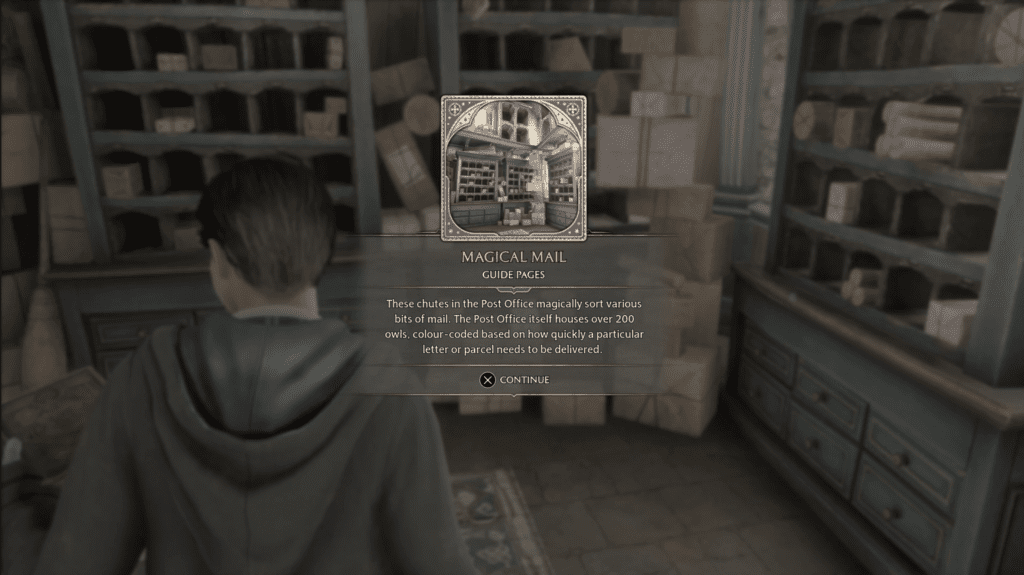
Magical Mail

Scrivenshaft Cats

Tea Shop Decor

Water Well

Zonko’s Joke Shop

Hogwarts Revelio Pages

Tapestry of Barnabas the Barmy

Astronomy Telescope

Goblin Artefact

Three Sisters Bells

Scorch Marks

Frog Choir

History of Magic Windows

Wooden Cat

Arithmancy Classroom

Central Hall Fountain

The Well of four Beasts

Augurey Skeleton

Professor Sharp’s Auror Badge

Map of Argyllshire

Lachlan the Lanky

Centaur Armour

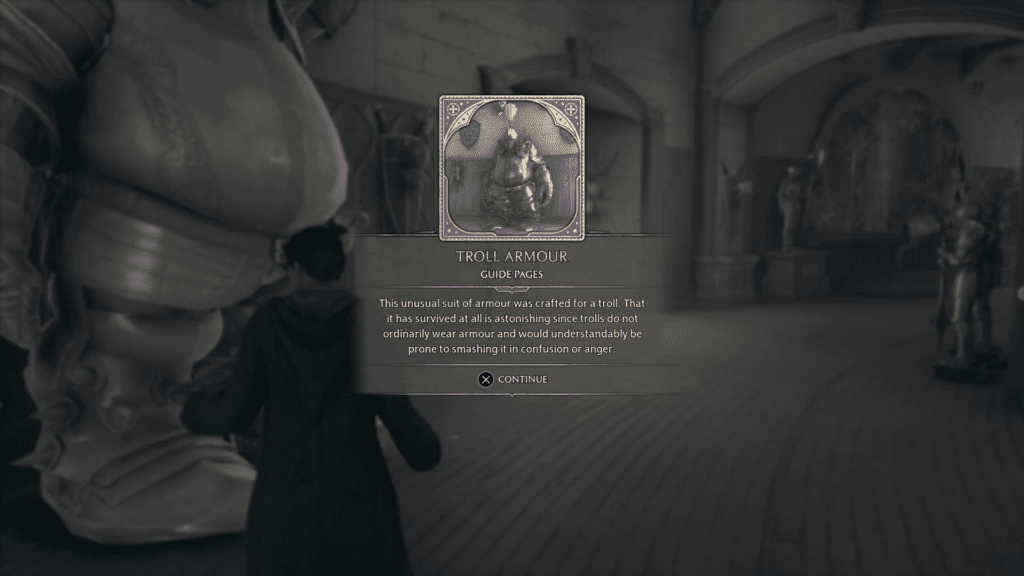
Troll Armour

Trophy Room

The Hogwarts Architect

The Great Hall Ceiling

House Point Hourglasses

Owl Lectern

Greenhouse Tree

Dirgible Plums

Statue of Gregory the Smarmy

Enchanted Books

Ravenclaw Bust

Kelpie Statue

Wyvern Fountain

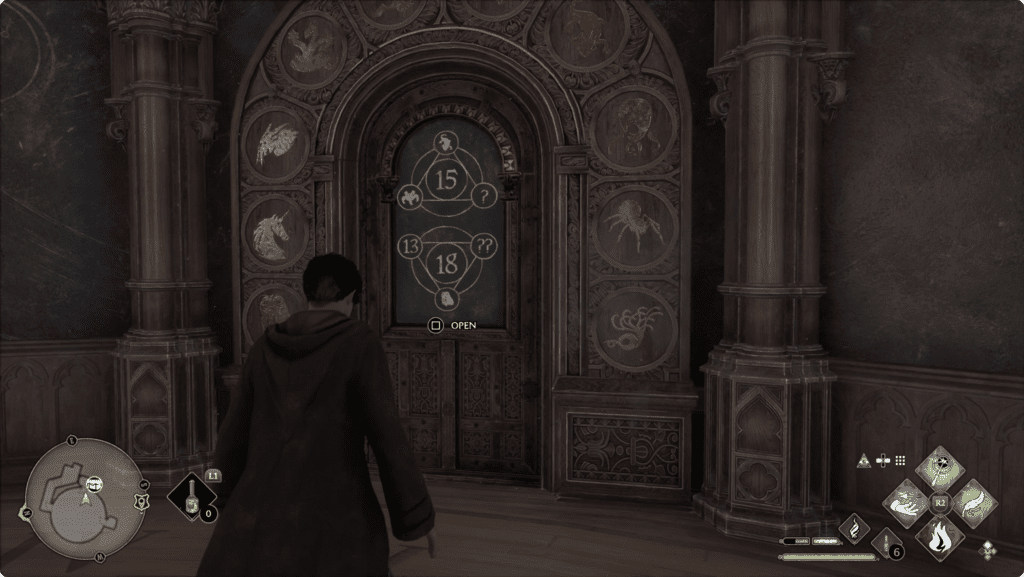
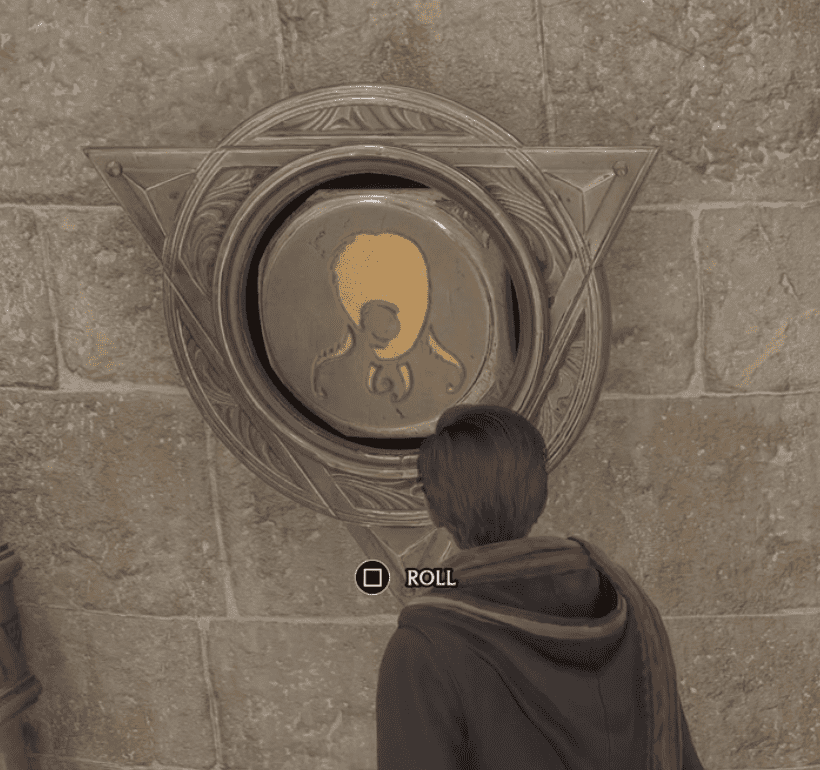
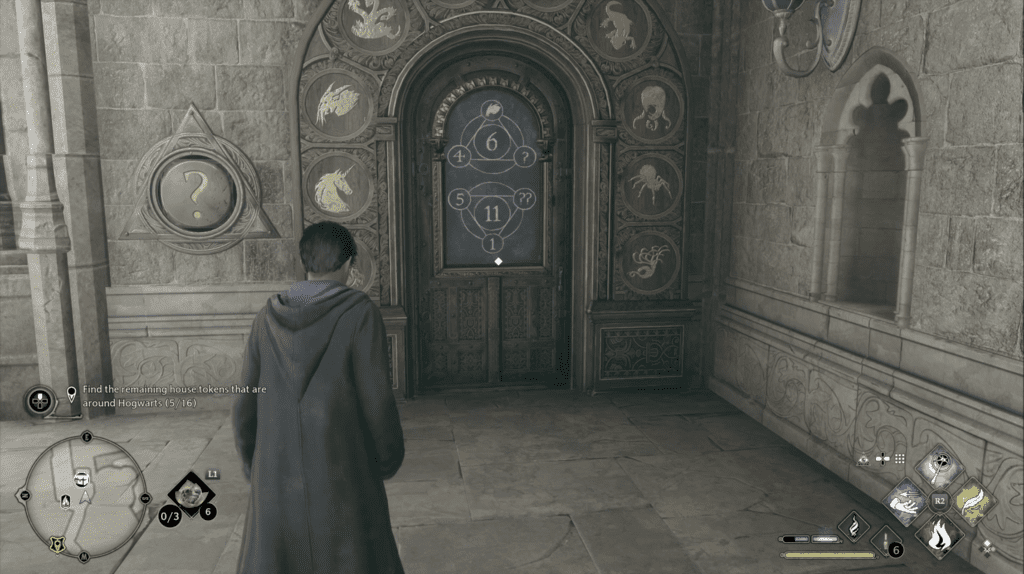
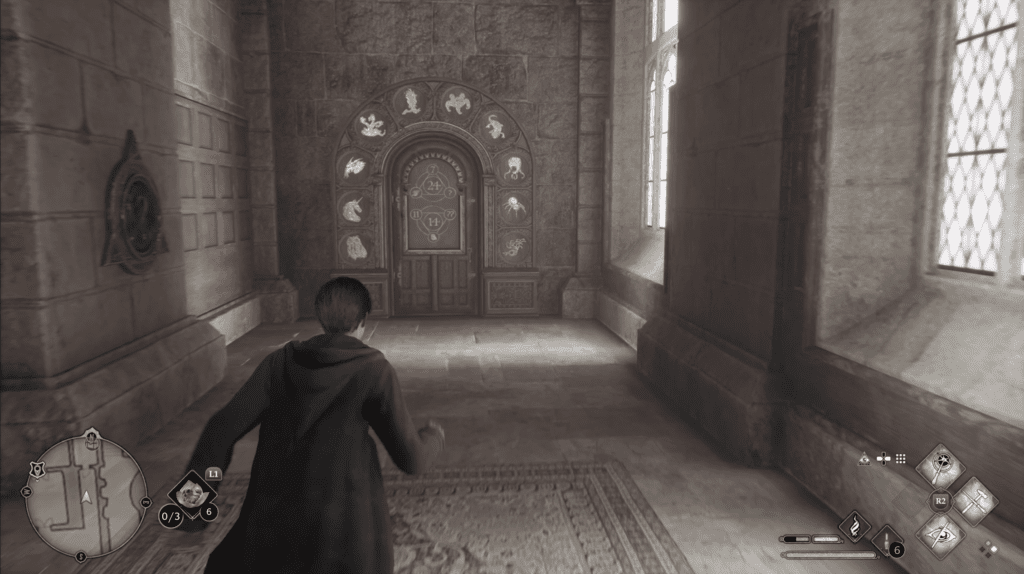
Divination Classroom Numbers Door


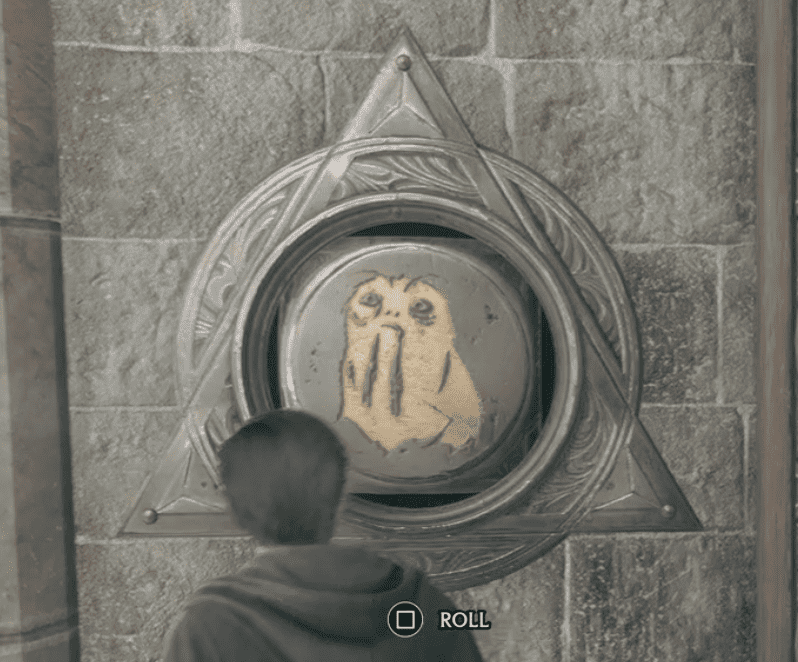
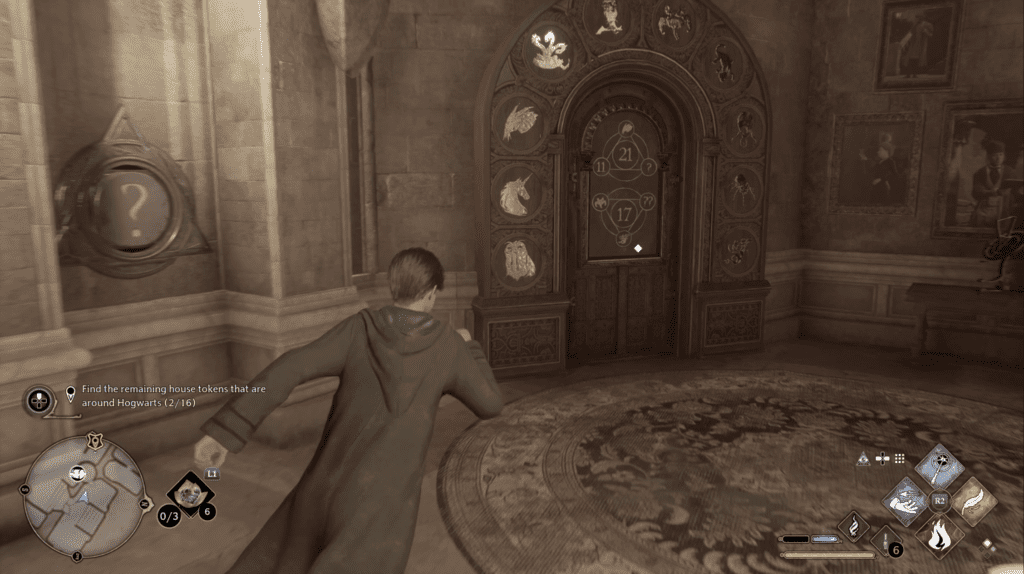
Arithmancy Classroom Numbers Door 1


Arithmancy Classroom Numbers Door 2


Great Hall Numbers Door


Upper Great Staircase Numbers Door


Lower Great Staircase Numbers Door


Central Hall Numbers Door


Charms Classroom Numbers Door

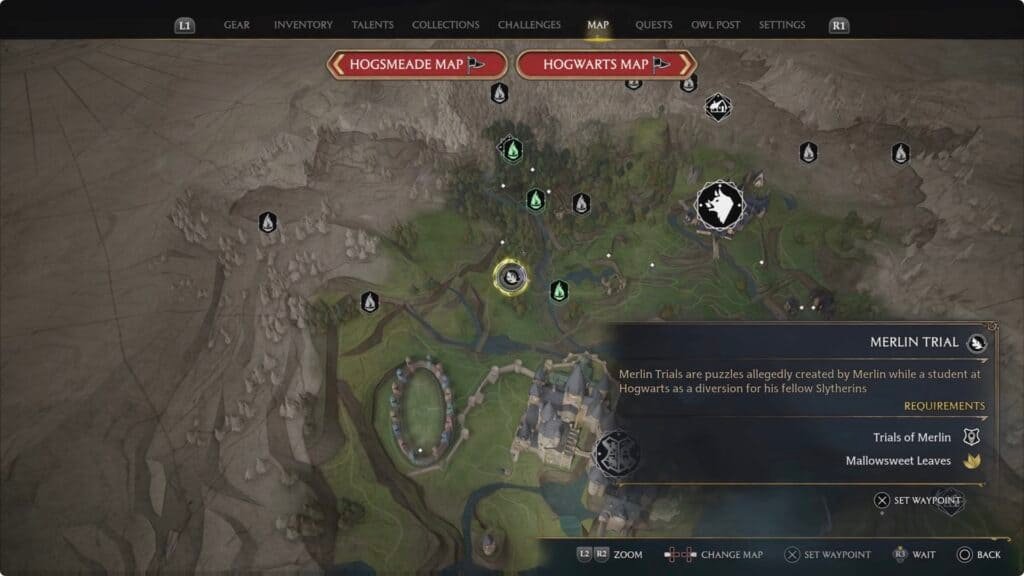
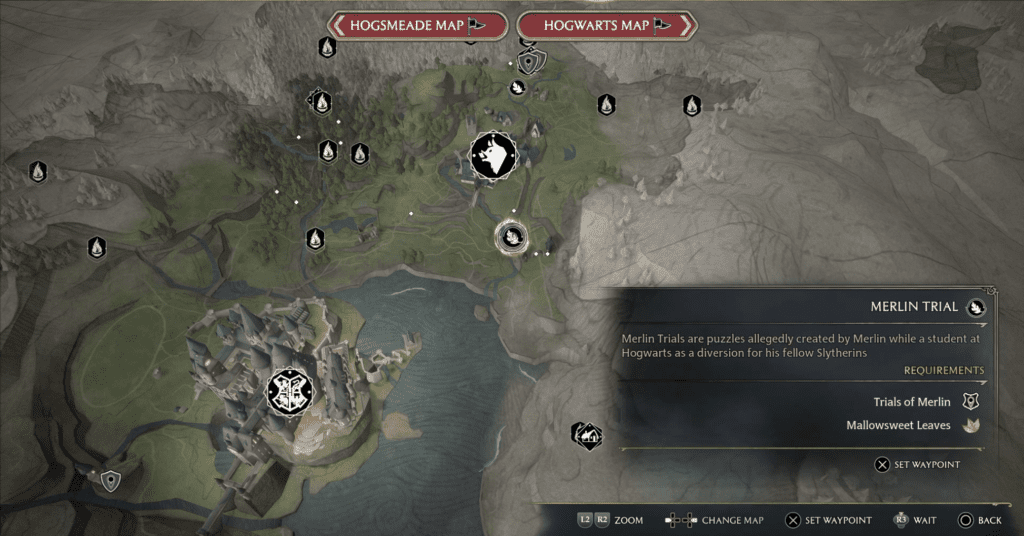
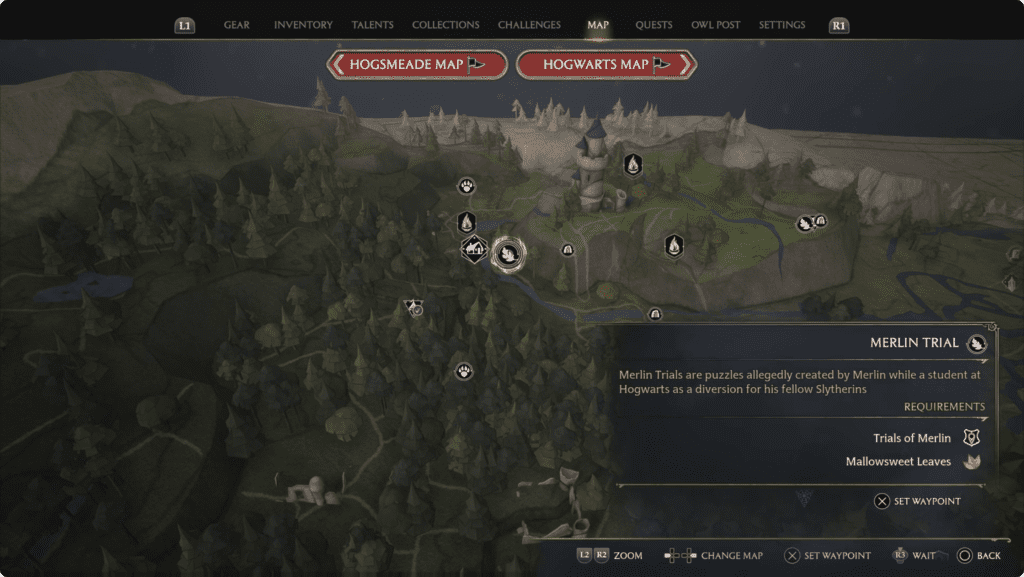
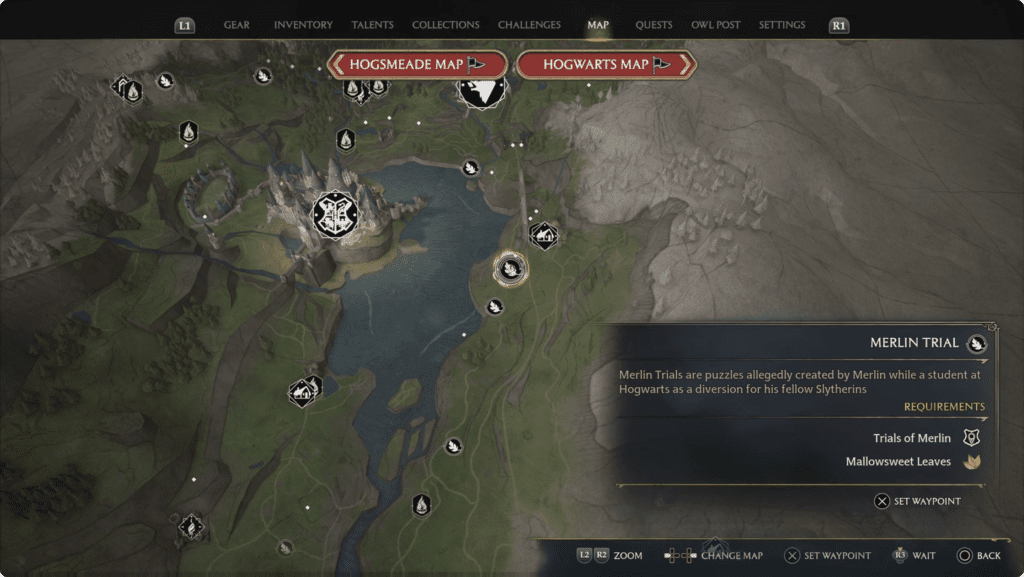
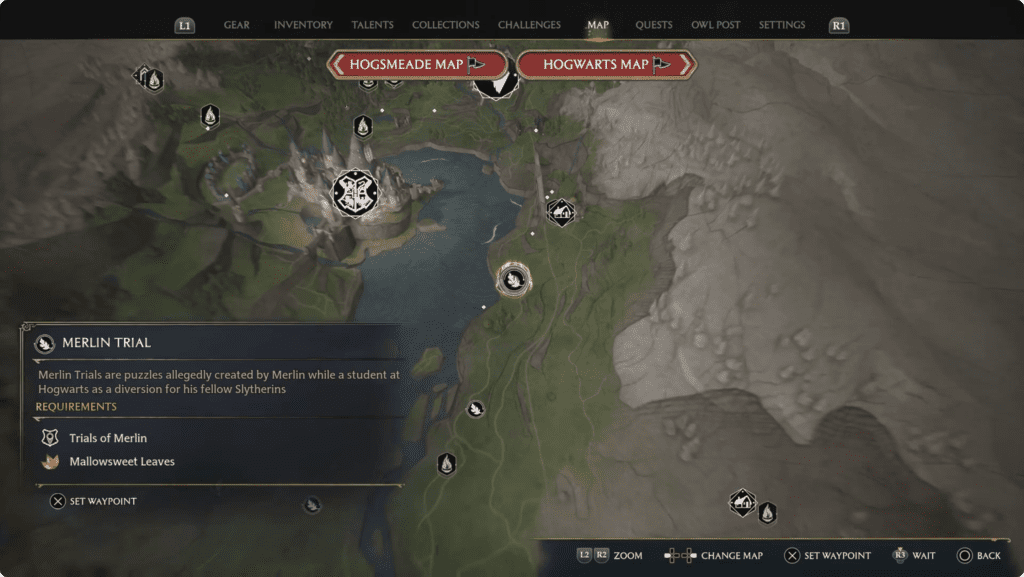
You unlock Merlin Trials through story progression. You will be guided through the first trial where you have to light pyres. After finishing some trials you can unlock your reward through the collection screen which is expanding your gear inventory.

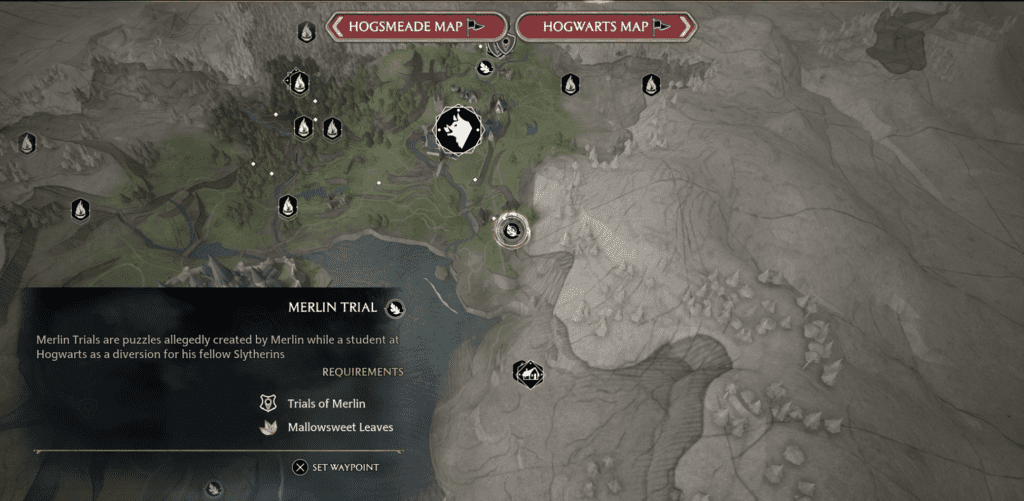
Forbidden Forest Merlin Trials

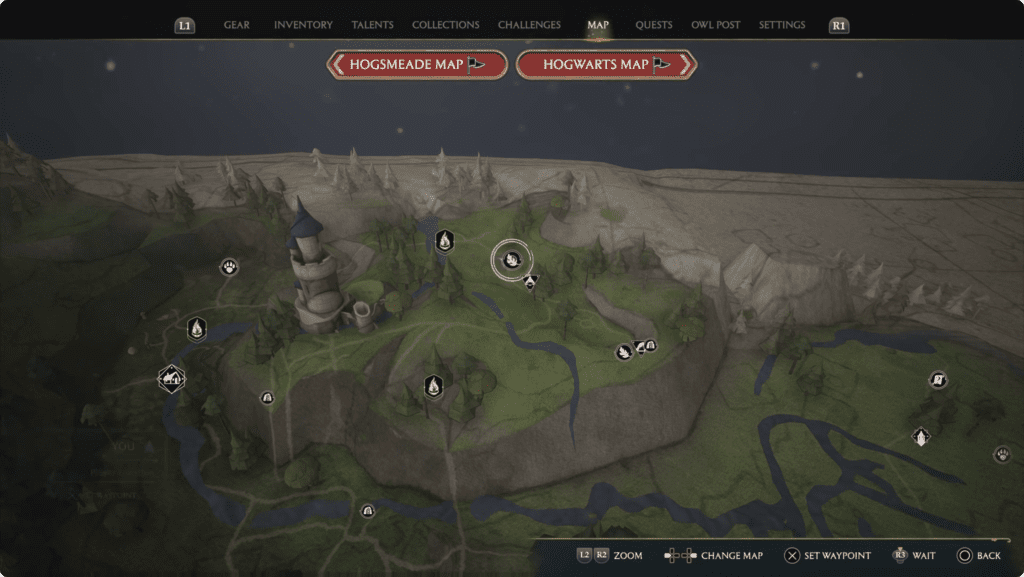
This trial is right in front of the forbidden forest, north of Hogwarts.

Shoot the balls with your wand in target mode which you can activate while holding L2.


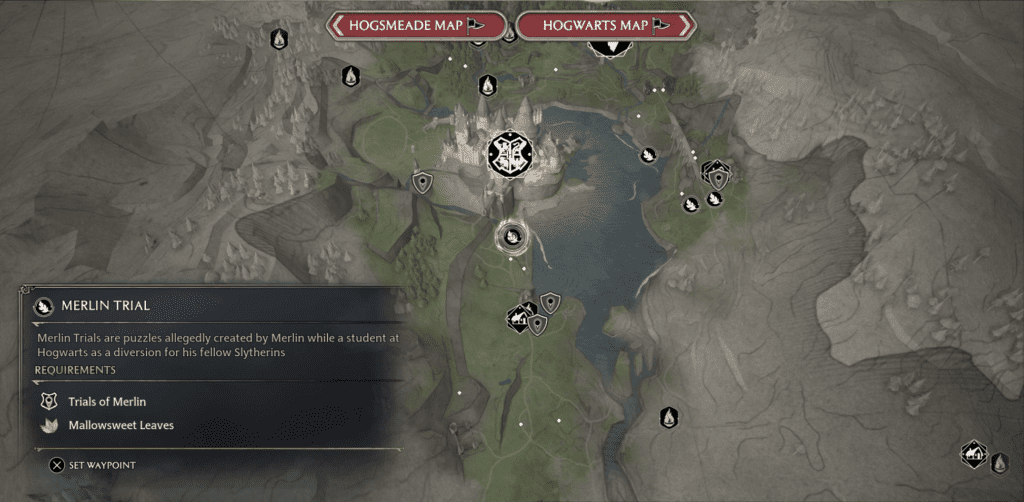
Hogswarts Region Merlin Trials

Use Depulso to push the boulder into the hole.


West Hogwarts Valley Merlin Trials

This Merlin Trial can be found even more south of Hogwarts

Shoot the balls with your wand in target mode which you can activate while holding L2. Most of them are easy to find, the only hidden one is behind some rocks in a fireplace.
Merlin Trial - Hogwarts Legacy

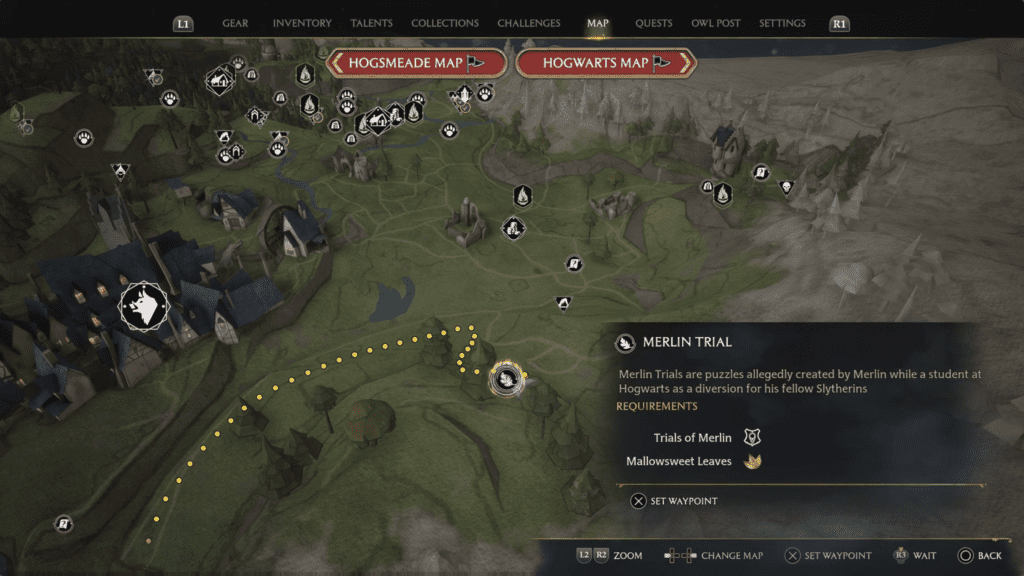
You can find this Merlin Trial between Lower Hogsfield and Keenbridge.

Merlin Trial Location Hogwarts Legacy

Use Accio on the balls to pull them towards the holes in the ground. The last set of balls is hidden behind a bush which you have to burn with Incendio.

Merlin Trial - Hogwarts Legacy

Hogsmeade Merlin Trials

You can find this trial a little bit south of Hogsmeade. Shoot the balls with your wand. For the last ball you have to go a little bit to the west and target the ball on the other side of the river.
Merlin Trial - Hogwarts Legacy


Aranshire Merlin Trials

You can find this trial between Hogsmeade and Aranshire

Burn the three pyres with Incendio.
Merlin Trial - Hogwarts Legacy

This trial can be found near Aranshire

You need to cast Lumos near the flies to lead them to the stone blocks. Do this 3 times to finish this trial.

Merlin Trial - Hogwarts Legacy


Which guardian should I use in Disney Mirrorverse?

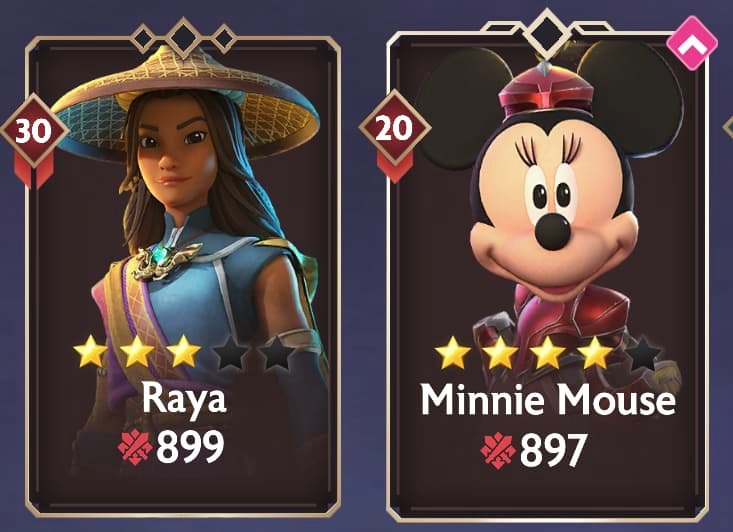
Since 4 star guardians are way more powerful than 3 star guardians you should always pick your highest star guardians. It doesn’t matter if you have invested a lot of xp modes into another guardian, you will still need them for rifts, towers and dungeons. But focus on your highest star guardians to progress the story and upgrade your lower star guardians. A lvl 20 guardian that is 4 star is as good as a lvl 30 guardian which only has 3 stars.

Which guardian shouldn’t I use in Disney Mirrorverse?

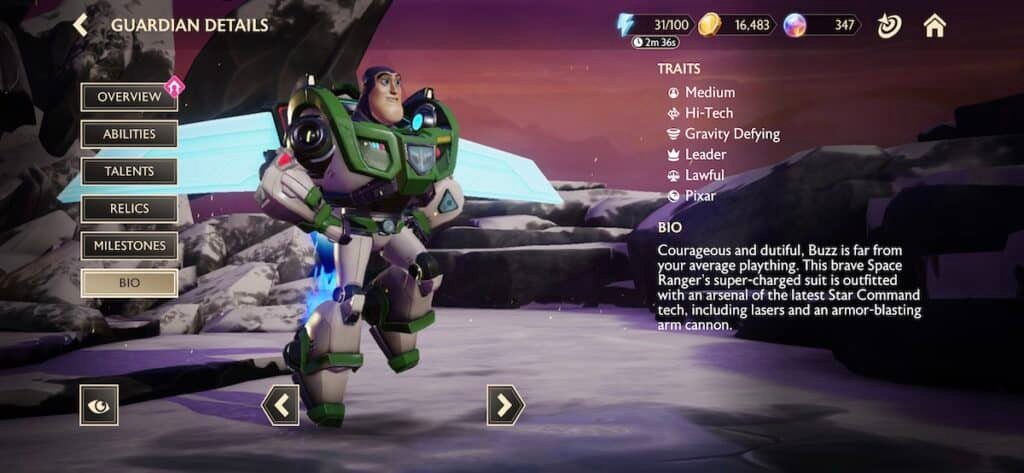
Guardians have a trait which you can check in their bio. Try to avoid using guardians with the same trait and role. For instance Buzz Lightyear and Eve both have the traits Hi-Tech, Gravity Defying and Pixar. Also both have the ranged class. If both are 3 star guardians only use one of them.

How to increase the stars of a guardian in Disney Mirrorverse

If you get a guardian you already own you get character shards, stardust and character signets instead.

  • 1 star guardian = 10 character shards & 10 stardust
  • 2 star guardian = 30 character shards & 30 stardust
  • 3 star guardian = 100 character shards & 100 stardust
  • 4 star guardian = 450 character shards, 450 stardust & 1 character signet
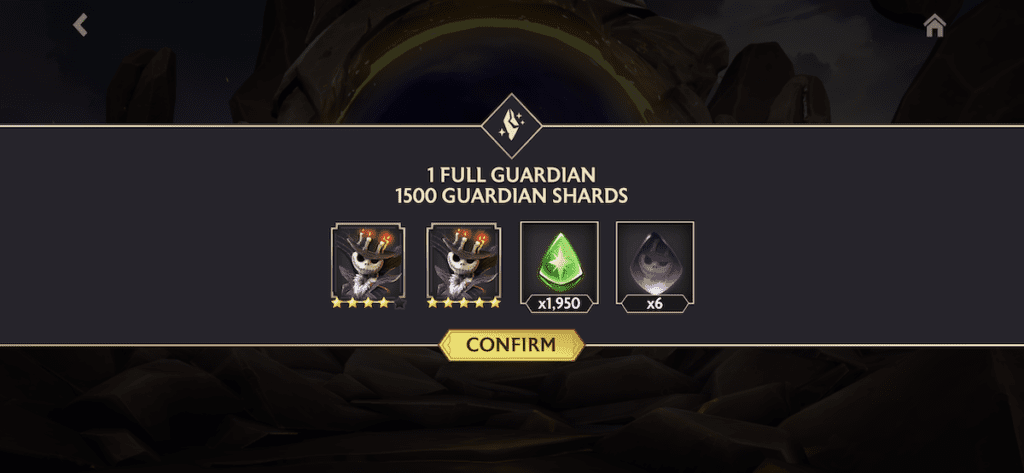
  • 5 star guardian = 1500 character shards, 1500 stardust & 5 character signets
You can use stardust in the stardust shop. Only standard guardians and event guardians you already own will appear in the stardust shop.

What should I use my orbs for in Disney Mirrorverse?

  • Event exclusive guardians(Kermit the Frog, Cruela De Vil or Jack Skellington,…).
    • Buy at least 5 famed crystals to get a 1 star event exclusive guardian which will then appear in your stardust shop.
  • Offers which can be bought with orbs.
    • I highly recommend the minor, major or superior energy offers.
  • Enchanted Major Energy Recharge in the Alliance shop.
    • It will give you a major energy and every alliance member minor energy. But only buy it if your alliance is active and full.
  • Dungeon energy in the Dungeon store.
    • It’s not hard to get to lvl 25 in a dungeon and the rewards almost always pay off. You will have to buy the lowest tier available but should be able to reach dungeon level 25 with 150 – 275 orbs. In relic dungeons you will receive an epic relic with a trait and if you make it to the top 3 you will receive 2 legendary relics.

You can find the Unique Monster Locations here

Soul Hack Arts

Hard Dig – Sycophantic Lilith

Beast Howl – Lapdop Veece

Sumo Press – Indiscreet Gombaba

Butterfly Dust – Perturbed Bilkin

Snake Eyes – Hazardous Jarrahed

Poison Spray – Rambler Curalie

Horn Dance – Perspicacious Oldar

Bubble Cloud – Househunter Carly

Tail Slap – Scornful Daria

Water Jet – Wraithfin Segna

Hypno-Light – Heretical Saurow

Cursed Cuisine – Crystalline DuGarre

Last Fencer – Raucous Ron

Radiant Arts – Shimmering Marcko

Aquatic Missle – Frolicking Parker

Hawk Shot – Terrorbird Zieger

Fin of Fear – Massive Georges

Dino Storm – Blazing Karlos

Spit Beam – Mobile Vespa

Neck Slice – Forsaken Arbiter

Toxic Gas – Spectral Remy

Hypnotism – Profound Hodzuki

Raid Strike – Puzzled Raquinu

Dragon Gas – Villainous Igna

Cavalry – Littlefort Morley

Dino Flash – Fineblade Faltaar

Piercing Laser – Besieger Sheritt

Spinning Bolt – Diabolical Rindolph

Shark Shock – Intrusive Neville

Battle Pheromone – Gracious Titania

Pointy Stick – Virtuous Gulkin

Double Strike – Bloodsucking Elvis

Shell Guard – Hardshelled Admory

Rhino Storm – Foolhardy Saide

Burrowing Rocket – Keen Chicky-Chicky

Trick Dart – Witchwind Kujjat

Aquaball – Covetous Gerondon

Jet Stream – Otherworldly Rodsin

Healing Rest – Timbercorn Cthinos

Double Slap – Saberly Dorampe

Vampire Bat – Defiled Ishtar

Dragon Decree – Hardscale Gouran

Murder Knuckle – Ghostfist Roisin

Elimination Beam – Clinging Azreel

Thunderclap – Wicked Wolf Aranqui

Evasive Posture – Dishonest Karom

Electric Skin – Sundappled Floria

Bomberhead – Oceanic Lucera

Trout Hop – Naval Gyrus

Hydra Gas – Demonic Krenolur

Ether Sphere – Seatiger Tridence

Spider Web – Flyswatter Kamado

Ministorm – Spartan Fennick

Predation – Ruthless Grokken

Dual Attack – Seadragoon Melchior

Wild Wave – Immovable Gonzalez

Gatling Peck –

Psychowave – Obliterator Centaurio

Life Plant – Gorgeous Mandora

Desperate Charge –

King’s Bash

Transient Bond

Soul Hack Skills

Just a Moment – Mirgatory Circe

Suprise Attack – Sharpwitted Tracy

Defense Time – Unruffled Narrah

Natural Guard – Dapper Sepiar

Amazing Growth – Tenderling Rumi

Tactical Eye – Hedonist Tirkin

Emergency Turbo – Repulsive Deepus

Dodge Acceleration – Gushing Masquin

Drain Guard – Stoneclipper Gorse

Systematic Defense – Sensitive Catullus

Air Body – Altruistic Maribel

Sandsmoke – Gallivanter Buckley

Accelerating Attacks – Petrivore Judomar

Spiritual Absorber – Budding Francis

Physical Absorber – Phatasmagorical Rist

Dangerous Claws – Soaring Virion

Nimbleness Itself – Craven Piggard

Damage Share – Ambusher Tirion

Sacrificial Heal – Farseer Pirtett

Action Reaction – Vengeful Dominator

Underworld Rage – Unobtrusive Liggy

Energy Efficiency – Turbulent Martinez

Supersharged – Determined Vatslav

Deflector Plate – Thunderclap Dalton

Accelerator Organ – Night-Stalker Volodya

Royal Aide – Dimwitted Tirkin

Reckless Attack – Navigator Helios

Reserve Life – Bushwacker Farritt

Awakilling – Widdershins Radler

Excessive Armor – Taskmaster Imperion

Megashout – Doomfang Caum

Mimic Technique – Phantom Streya

Needle Shell – Barbed Merod

Ultranull Shield – Well-Plated Zelinka

Revenge Impetus – Crafty Anskey

Dual-Horn Pressure – Hownbow Dante

Grace of the Land – Spiralhorn Baccro

Apothecary’s Wisdom – Galloping Ghuldan

Sense of Danger – Stonehoof Torphan

Queenly Pride – Spike Aurelia

Deeply Tactical – Talkative Dirakha

Heavy Armor – Protector Revelta

Super Explosion – Infiltrator Garnach

Queen of Mercy – Abysmal Rakshmi

Battle Fever – Fleeting Shikino

Scattered Healing – Stately Doramma

Terran Warrior – Ghosting Lulika

One with the Land – Miraging Yuri

Debuff Counter – Darkening Asha

Aquatic Warrior – Sharpscale Ragoon

Breath of an Era – Fairscale Marina

Recharge Cheer – Cruelfist Rojou

Mano a Mano Evasion – Trickfist Tuano

Attack Mastery – Creeping Hameel

Positional Attacker – Sharkblade Nedd

Instant Charge – Joyful Nimroog

Defense Mastery – Pressing Rafeel

Berserker Mindset – Vapid Roger

Magic Transmutation – Artificial Optho

Exoshell – Phony Temnos

Wolf Spirit – Thaumawolf Bajeek

Creeping Predator – Jealous Mizraile

Healing Mastery – Reaping Anteel

Non Stop Barrage – Impish Langobard

Royal Charisma – Heroic Gulkin

Celestial Conqueror – Ragemaw Tempeldo

Strength Support – Killhappy Brijaidor

Counter Puncher – Fang-King Clavein

Blasting Stomp – Jingoistic Gigantus

Emperor of Violence

Fiery Morale – Impregnable Sandhu

Large-Scale Shock – Godlike Krastor

Attack Heal – Ravenous Babayaga

Wild Tendencies – Desired Oruria

Stirke Shirker – Dunesea Marcellus

Monarch’s Heart – Kilocorn Grandeps

Eagle Rush – Perilwing Ryuho

Hot Soul – Dreadwyrm Nizoont

Power Pick-Me-Up – Levialord Emireo
Aetia Discussions

Colony 9

Colony 9 Food Issues – Unlocks “A Difficult Transition” quest

Colony 9’s Off-Seer – Unlocks “An Off-Seer Anguish” quest

Colony 9 Shortages – Unlocks “Lean Times in Colony 9” quest

Colony 9’s Situation – Unlocks “Forgotten Supplies” quest

Everblight Plain – 100 Bonus XP

Gratitude for Supplies – 100 Bonus XP

Kite Gone Missing – Unlocks “For Colony 9” quest

Lenny and Eastman’s Row – Unlocked “Shared Secrets” quest

News of Eillis – Unlocks “A Chance Encounter” quest

The Textbook – 100 Bonus XP

Yzana Plains Monsters – 100 Bonus XP

Everblight Plain

All-Slayer Oleg – 100 Bonus XP

Forward Post Camp

On High Alert – 100 Bonus XP

Supply Drops – 100 Bonus XP

Hillside Ferronis Hulk

Glitter Radishes – 100 Bonus XP

Colony Gamma

Namuki – Unlocks “Research Procedures” quest

Request from Teach – Unlocks “Teach’s Teachers” quest

Role Models – 100 Bonus XP

Trusting Teach – 100 Bonus XP

Tutor: Mio – Unlocks “Extracurricular Lesson” quest

Tutors: Sena & Eunie – Unlocks “Live Combat Training” quest

Tutor: Off-Seer – Unlocks “A Lesson in Off-Seeing” quest

Ysorra’s Request – Unlocks “Special Instructors” quest

Tsang Camp

Snow – 100 Bonus XP

Fornis Discussions

Colony 4

Changes – 100 Bonus XP

Colony 4’s Problems – Unlocks “No Want of Courage” hero quest
Colony 4 Revitalized – Unlocks “Beyond Mercy and Revenge” quest

Colony 9 Lately – Unlocks

Crossing the Vortex – 100 Bonus XP

Ferronis Hulks – 100 Bonus XP

Herding Monsters – Unlocks “Charity and Hypocrisy” quest

Imogen at Colony 4 – Part of “Lost Friend” quest

Monsters Around Colony 4 – 100 Bonus XP

Tactitian Plan – Unlocks “Tactical Eradication” quest

Irritation – Unlocks “Exhausted Supplies” quest

Unsent Husks – Unlocks “Meloday of Mourning” quest

Lake Rezzento Camp

Fog and Annihilation – 100 Bonus XP

Desert Ferronis Hulk

Keeping Clean – 100 Bonus XP

Llyn Nyddwr Camp

Crafting Gems – 100 Bonus XP

Tableland Ferronis Hulk

A Mysterious Assailant – 100 Bonus XP

Saffronia Tree

Nia’s Memories

Selias Terrace Camp

Ether Cylinder – 100 Bonus XP

Colony 30

About Armus – 100 Bonus XP

Colony 30’s Off-Seer – Unlocks “Serene Melody” quest

Expeditionary Mission – Unlocks “The Missing Squad” quest

Favorite Levnises – 100 Bonus XP

Free Nopon – 100 Bonus XP

The Real Perpetrator – Unlocks “The True Culprit?” quest

Yuzet’s Reputation – Unlocks “Big Friendly Friend” quest

Widespread Custom – Unlocks “Wish Upon a Clover” quest

Colony Iota

Collectopedia Abuse – Unlocks “Bugs” quest

Collectopedia Cards – 100 Bonus XP

Goods in Storage – Unlocks “Scant Supplies” quest

The Mondo – 100 Bonus XP

Colony Iota’s Goods – Unlocks “Enemies and Allies” quest

Ouroborous Research – Unlocks “The Ouroborous Experiment” quest

Pentelas Region Discussions

Ruins of Seebu Camp

Nopon Cooking – 100 Bonus XP

Colony Lambda

Auto-Levs – 100 Bonus XP

Auto-Lev Situation – Unlocks “Restart” quest

Bountiful Ether – Unlocks “Surplus Supply” quest

Colony Lambda’s Canteen – Unlocks “Lambda’s Problem” quest

Colony Lambda’s Defenses – Unlocks “New Developments” quest

Colony Lambda’s Escellence – 100 Bonus XP

Missing Off-Seer – Unlocks “The Lost Off-Seer” quest

Urayan Mountains – 100 Bonus XP

Cascade Ferronis Hulk

Nopon Levnises – 100 Bonus XP

Colony Tau

Colony Tau’s Off-Seer – Unlocks “Off-Seeing Customs” quest

Food for Tau – Unlocks “Tau-Tirkin Alliance” quest

Forest Living – 100 Bonus XP

Harvest Time – Unlocks “The Harvest” quest

Herbal Tea – 100 Bonus XP

Korresia’s Return – Unlocks “Korresia Finds her Calling” quest

Mushroom Knowledge – 100 Bonus XP

Raine’s Departure – Unlocks “The Hunter” quest

Rope Slides – 100 Bonus XP

Strength-Giving Water – Unlocks “Water of Rhonnar” quest

The Nopon are here – Unlocks “Cultural Exchange” quest

The Returned – 100 Bonus XP

Where’s Imogen – Unlocks “Lost Friend” quest

Engardo Pass Camp

Tirkins and Gogols – 100 Bonus XP

Tower Camp

Nia’s Memories

Keves Castle Region Discussions

Colony 11

Clad’s Unit – Unlocks “Indomitable” quest

Colony 11’s Future – Unlocks “Three Ravens at War” quest

Annihilator – 100 Bonus XP

Easel’s Unit – Unlocks “Rules of the Hunt” quest

Fortifying Food – 100 Bonus XP

Zoren’s Unit – Unlocks “A Warrior’s Pride” quest

Fort O’Virbus

Achievement – 100 Bonus XP

Curious Picture – Unlocks “An Artist” quest

City Discussions

City

A “Novel” Book – Unlocks “Writer’s Block” quest

Aionios’ Strongest

Blades – 100 Bonus XP

City Clothing – 100 Bonus XP

City Discontent – Unlocks “Choices” quest

Colony 15 Folk – Unlocks “Life in the City” quest

Fortune Clover – Unlocks “Side Story: Eunie” hero quest

Gray’s Autonomy – Unlocks “Lovebirds” quest

Guernica Vandham – Unlocks “Vandham’s heir ” hero quest

Joulietta’s Attitude – Unlocks “Joulietta and Romero” quest

Nia’s Memories

Reading – 100 Bonus XP

Someone’s Sheet Music – Unlocks “Counterpoint” quest

Scavenging – Unlocks “The Scavenger Force” quest

Six Houses Enmity – 100 Bonus XP

The Colony 15 Folk – Unlock “Colony 15 Soldiers missing” quest

White Fog on Erithia Sea (Part 2) – Unlocks “The Mysterious White Fog” quest

Cadensia Region Discussions

Great Sword’s Base

Curious About Training – Unlocks “Side Story: Lanz” hero quest

Eryth Sea

White Fog at Sea – Find part 2 in City

Corne Island

Nautical Navigation – 100 Bonus XP

Colony Mu

Colony Mu’s Future – Unlocks “Unease” quest

Colony Mu’s Salute – 100 Bonus XP

Delicious Cooking – 100 Bonus XP

Nicknames – 100 Bonus XP

Tallow’s Reputation – Unlocks “To Face Forward” quest

What Washed Ashore – Unlocks “Distress Signal” quest

Lost Colony

The Peacful Life – 100 Bonus XP

Gromrice – 100 Bonus XP

Prison Camp

Life in Li Garte Prison – Unlocks “Prison Refurbishment” quest

Agnus Castle Region Discussions

Ascension Grounds

Aggy and Oggy – 100 Bonus XP

Castle Prisoners – Unlocks “The Three Fiends” quest

Enduring the Days – 100 Bonus XP

Eyepatches – 100 Bonus XP

Nia’s Memories

Seeker’s Rumors – Unlocks “Seeker’s True Intent” quest

The Sea – Side Story: Taion

Swordfighter (Noah)

Noah’s default class

Zephyr (Mio)

Mio’s default class

Medic Gunner (Eunie)

Eunie’s default class

Tactician (Taion)

Taion’s default class

Heavy Guard (Lanz)

Lanz’s default class

Ogre (Sena)

Sena’s default class

Flash Fencer (Ethel)

Unlocked through story progression

No Want of Courage Quest Guide - Xenoblade Chronicles 3

War Medic (Valdi)

Unlocked through story progression

Guardian Commander (Zeon)

Unlocked through quest Where the Heart Is

Where the Heart Is Quest Guide - Xenoblade Chronicles 3

Thaumaturge (Teach)

Unlocked through quest Going Beyond Power

Yumsmith (Riku and Manana)

Unlocked through quest A Nopon’s Counsel

Full Metal Jaguar (Gray)

Unlocked through the quest A Gray Matter

A Gray Matter Quest Guide - Xenoblade Chronicles 3

Strategos (Isurd)

Unlocked through quest Unwavering Resolve

Unwavering Resolve Quest Guide - Xenoblade Chronicles 3

Stalker (Juniper)

Unlocked through story progression

Lone Exile (Ashera)

Unlocked through quest The Wrath of Ashera

Incursor (Alexandria)

Unlocked through quest Her Reasons

Her Reasons Quest Guide (Unlocking Colony IOTA) - Xenoblade Chronicles 3

Lost Vanguard (Monica)

Unlocked through quest Vandham’s heir

Signifer (Fiona)

Unlocked through quest Transperent Dreams

Soulhacker (Triton)

Martial Artist (Ghondor)

Unlocked through story progression

Troubadour ()

Unlocked through story progression